I wanted to give you guys some great videos to watch while I’m preparing my next podcast on Permaculture and what it has to do with Fermentation.
Fermentation is such a broad topic and just by visiting my Pinterest page you’ll notice the large umbrella that fermentation covers. From sauerkraut to pickles to homebrew beer to gardening and biogas, there’s so many areas.
The broad array of fermented foods and drinks you can make is amazing. Alex Hozven of the Cultured Pickle Shop in Berkeley, California covers starting and running a fermentation business:
Another great one is Dr Robert Cassar explaining the benefits of kombucha and going through the process of making batches of it along with making kombucha vinegar:
The first time I ever made a lacto-fermented soda, I followed this classic recipe in this two part video series and was so excited when I got my first batch done:
There’s plenty of others that I’ll continue to share but this is just a few that you should definitely watch.
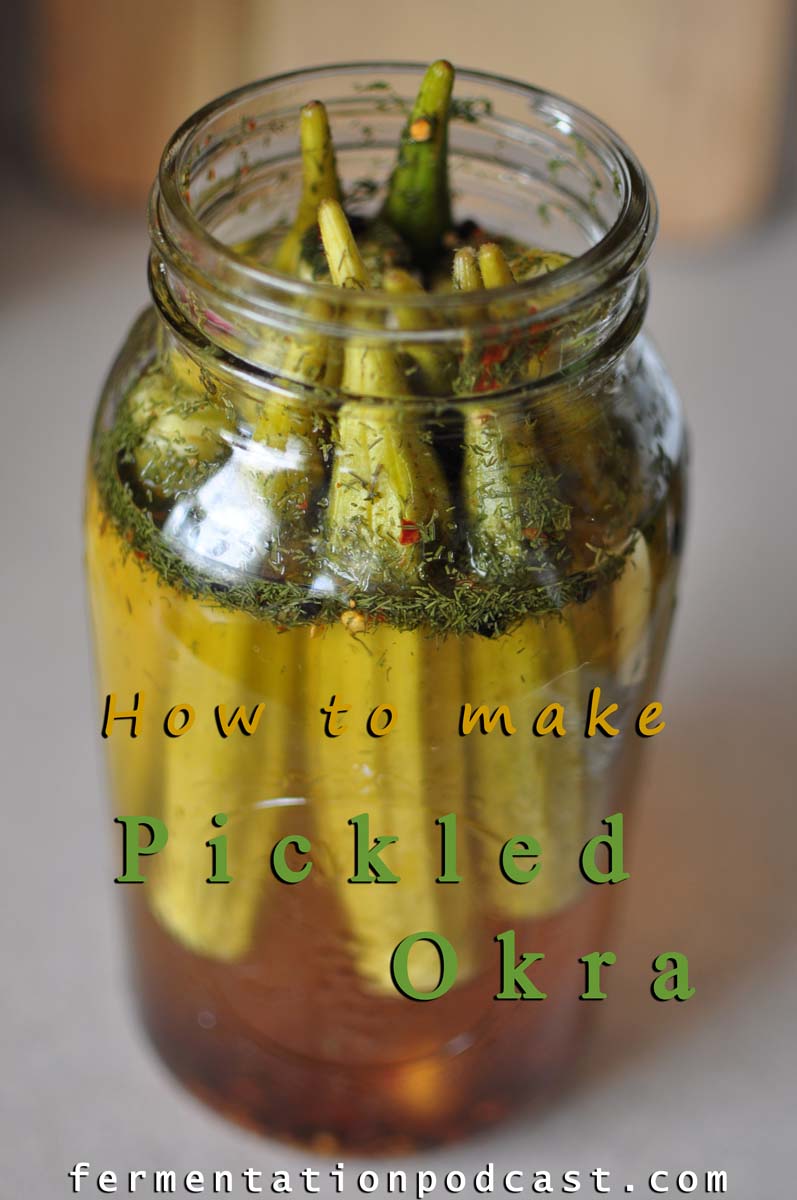
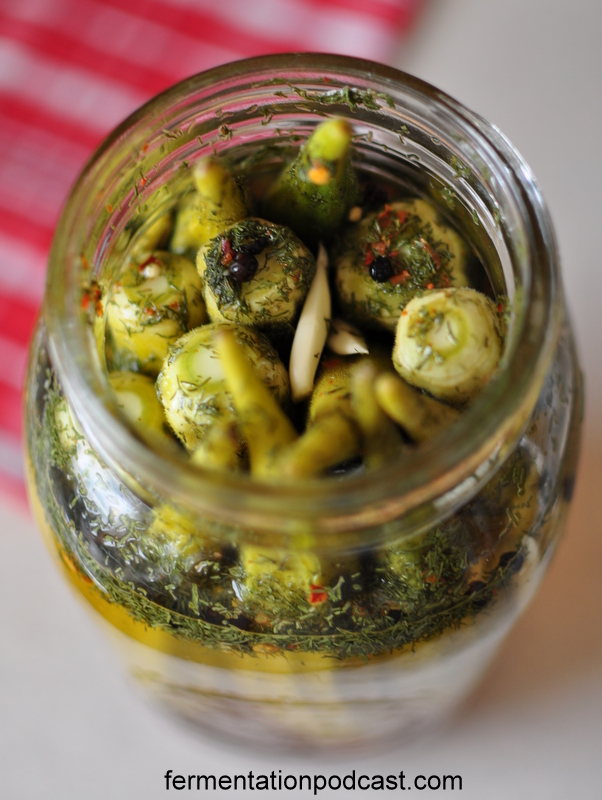
Today I go over how to pickle okra with a good recipe that I think flavors it well. Okra, that long, crunchy, fresh vegetable that ends up being so slimy in the end. I had never really liked okra because of the slime issue and I still find it slightly creepy, but it grows so amazingly well in the summer, it’s hard not to figure out what to do with it.
One way to reduce the slime factor of okra is to batter it and deep fry it. The batter seems to soak up the slime somewhat, and while it’s good, there could be a little addition of some flavor by fermenting it. So using this pickled okra recipe, try battering and frying this and I’m sure it will end up being better than the normal fare.
Fresh okra has a much better flavor than canned okra and I think that pickled okra has a stronger flavor than either of the other two, but you be the judge!
Pickled Okra Recipe
Makes 2 quart jar
(for 1 quart divide ingredients by half)
Equipment:
2 quart mason jar, wide-mouth, cleaned
1 half pint mason jar, cleaned (jelly jar for weight)
Plate (for overflow)
Ingredients:
Fresh okra, enough to fill mason jar (1 – 2 dozen or so depending on size)
1 T. dill, dried OR 3 T. dill, fresh
8 garlic cloves, smashed
Non-chlorinated water, enough to fill jar when packed
Sea salt, to taste (I use 3/4 T. to 1 cup water ratio, but you can use less)
Optional:
2 tsp mustard seeds
2 tsp black peppercorns
2 hot peppers, diced OR 1/2 tsp crushed red pepper (for spicy)
Choose okra that’s still slightly young. I had picked my okra just a little later than I should have and they were a little bit tough. The one good thing is that pickling okra softens them up slightly.
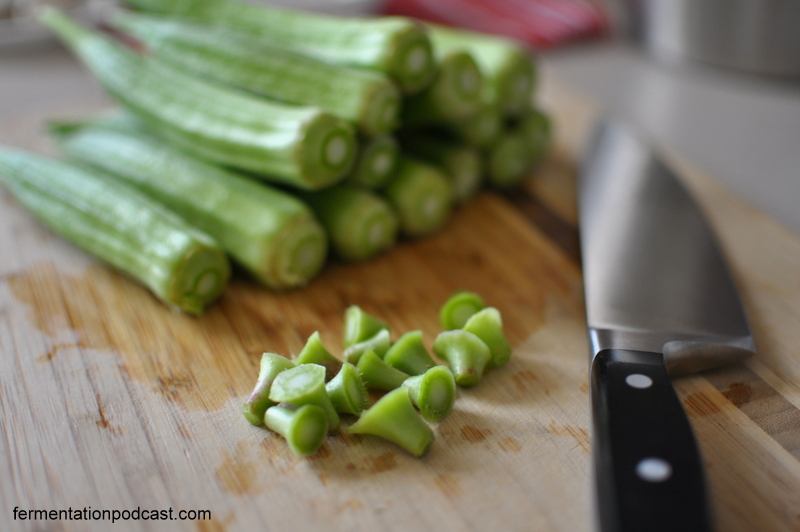
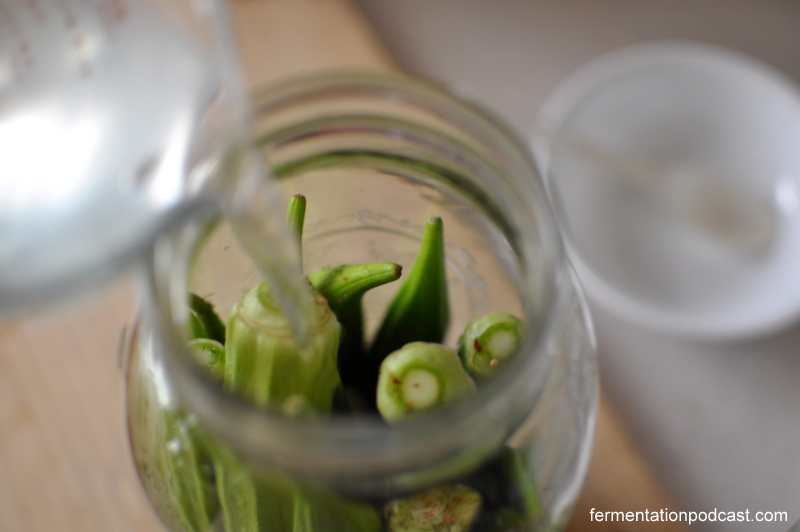
To start off, wash the okra and cut the stem off at the end.
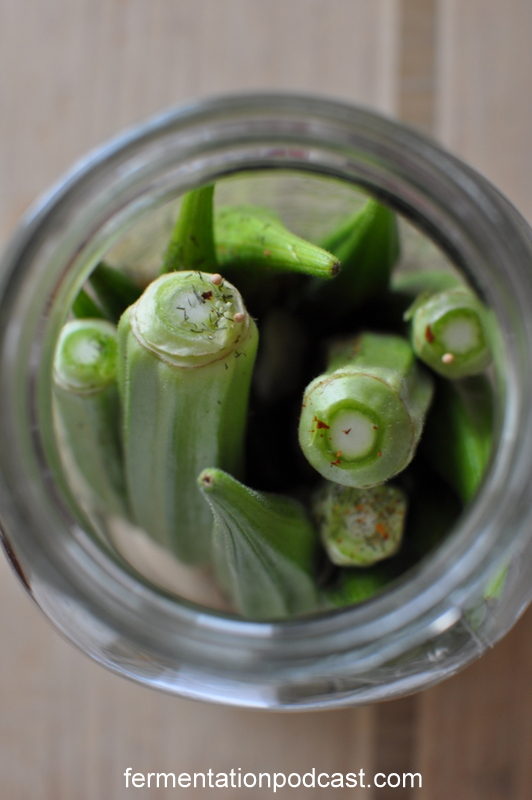
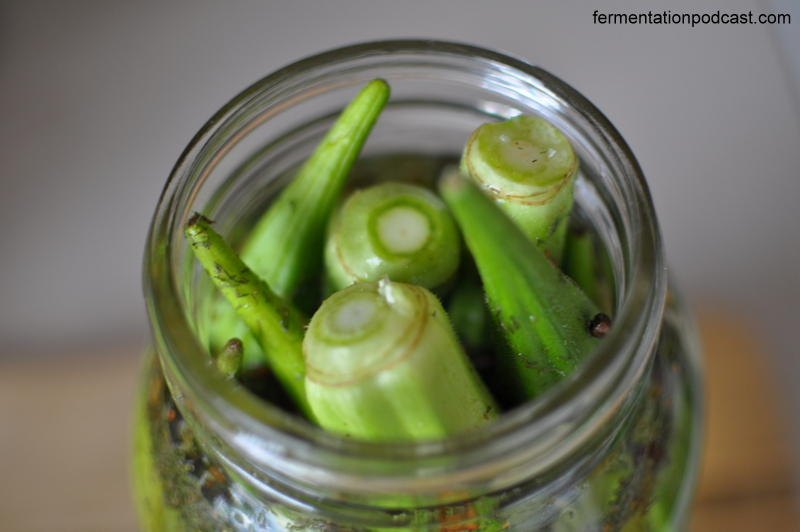
Put the mason jar on the plate in case the brine overflows during the fermentation process. Pack the whole okra enough to create a tight fit in the mason jar. You can alternate them up and down to create a tighter fit.
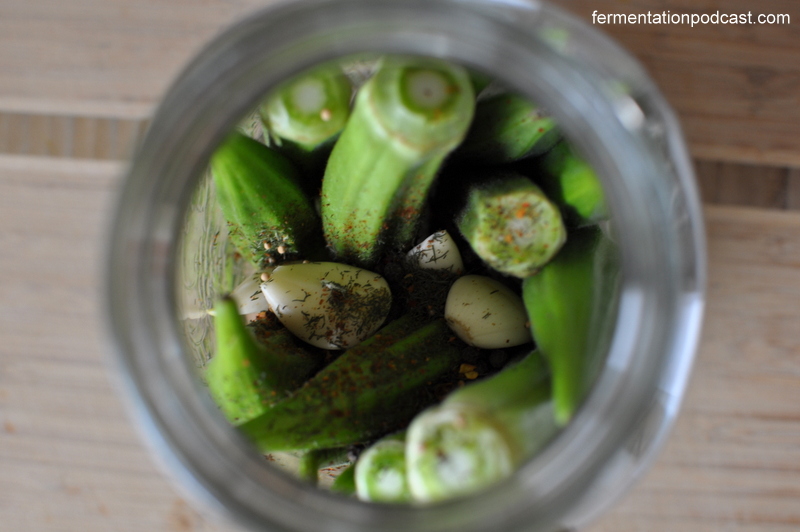
Put the remaining ingredients in the jar and shake or move ingredients to fill the crevices.
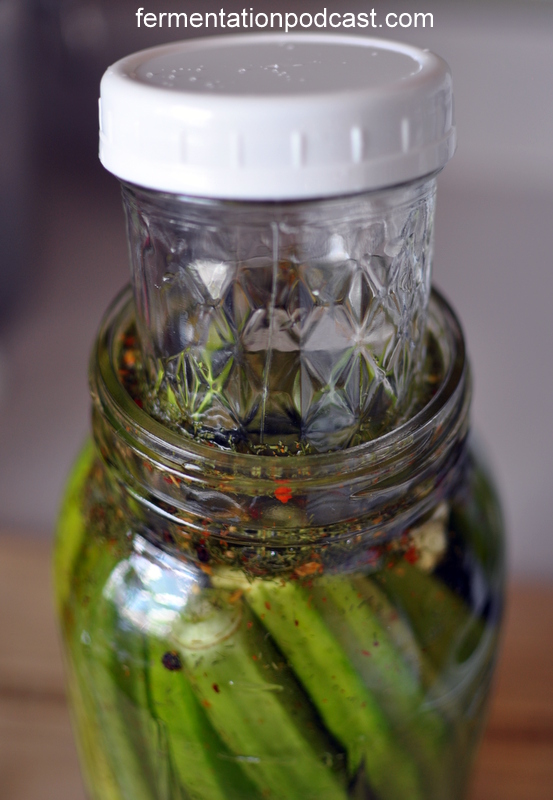
Mix the water and sea salt, pour enough into the jar to cover, and leave a 1/2 inch to 1 inch gap at the top. You’ll notice that as you add water, they’ll start to float to the top poking right out of the jar.
Now insert the small mason jar into the mouth of the large one enough to submerge the ingredients in the larger jar below the water line. Pour more water into the side if more water is needed and if the small jar floats, fill it with more water to weigh it down.
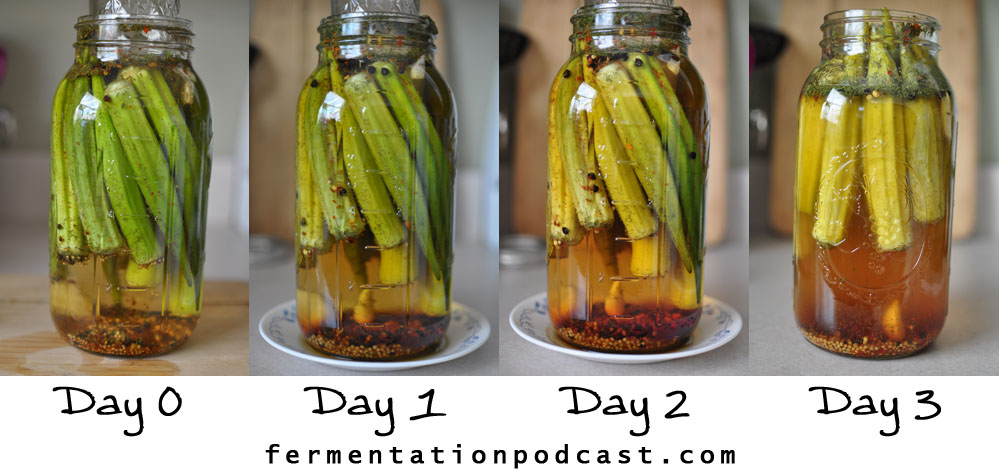
Leave on the counter to ferment anywhere from 3-7 days. The temperature in my house is usually about 72 degrees F so about 3 days is what I like. Try a slice of a okra every day to see what crispness or sour level you enjoy. Here’s a time lapse of what the okra looks like every day of the fermentation process: Once fermentation and taste is to your liking, put in the fridge or a cool root cellar where it should keep for quite a while.
You can either slice these into rounds to put on sandwiches, to put in soups, or just munch on them whole if you’d like. Some people like freezing okra which you can do, but I normally just leave these in the jar until I’m ready to use them.
Let me know how you like the recipe in the comments below!
Today I want you to get started in fermentation with some simple ideas and fermentation recipes in several fermented foods categories. Everyone has to start somewhere, but just like the key to getting anywhere in life, the answer is that you have to start doing SOMETHING.
The journey of 1000 miles starts with a single step so take that first step!
In this show I briefly go over things like pickles, sodas, and include recipes to things I started out with like sauerkraut and a no-knead bread recipe that’s extremely simple. Another recipe that you should find useful is making regular homemade yogurt and a vegan yogurt.
I also start out at the beginning with some thoughts on the idea of cultures passing their knowledge down from one culture to the next and how we nurture that relationship through time.
TOPICS INCLUDED IN TODAY’S FERMENTATION PODCAST:
Thoughts on the movie “Lucy” with (Scarlett Johansson & Morgan Freeman) and how this relates to fermentation and cultures of the past
How I got started in fermentation and what were some of my first ferments
How to get started into fermented foods
Thoughts of fermentation equipment and what you can do if you can’t afford expensive equipment
Getting stuck when you don’t have the right ingredients
Recipes and ideas to get you started off including
Fermented cabbage (sauerkraut)
Pickles
Fermented carrots
Pickled peppers
Ginger ale, ginger beer
No-knead bread recipe with the 1-2-3-4 method
The basics of making homemade yogurt
The basics of making homemade vegan non-dairy yogurt
Other places to find inspiration and recipes like Pinterest (The Fermentation Podcast Pinterest Boards)
I’d love to hear your thoughts on today’s show so be sure to comment below or if you have an idea for the show, email me at paul at fermentationpodcast.com or just click on the Contact button on top of this page and fill out the form. I look forward to hearing from you!
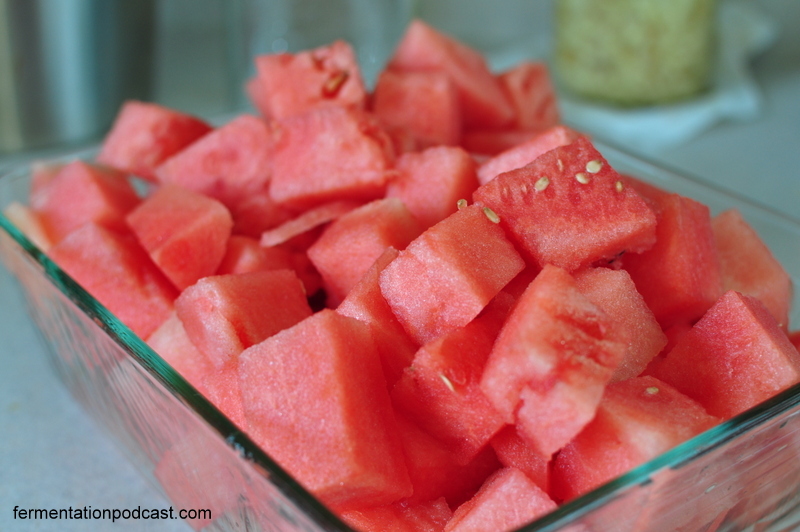
Summer in Florida for me means it’s time for watermelons, and recently that’s started to turn into making watermelon soda! I had never tasted homemade watermelon soda before but the pictures of it always enticed me. That beautiful slightly red glow to it with that little bit of carbonation just seemed too much for me to resist so I finally broke down and made some.
Not only is this drink refreshing, it’s amazingly good for you! Here are just a few benefits of watermelon juice:
Watermelons are high in lycopene right up there with tomatoes
The bright color of the fruit means that it’s high in those good compounds like beta-carotene
Watermelon is rich in antioxidants
Watermelon has a high amount of citrulline which relaxes muscles and improves circulation
High in vitamin C
Very refreshing with it’s high water content that’s mineral rich
The most obvious reason to drink some watermelon soda is the amazing flavor and taste that only gets magnified when you ferment it into a nutrient rich drink full of life!
Makes 1 quart (for 1 gallon, multiply ingredients by approx. 4)
This beautifully tasting soda is slightly fizzy, slightly sweet, and slightly sour. It’s amazing in the summertime and great cold.
Equipment:
1 quart mason jar
Ingredients:
4 cups watermelon, chopped
4 T sugar
Pinch sea salt
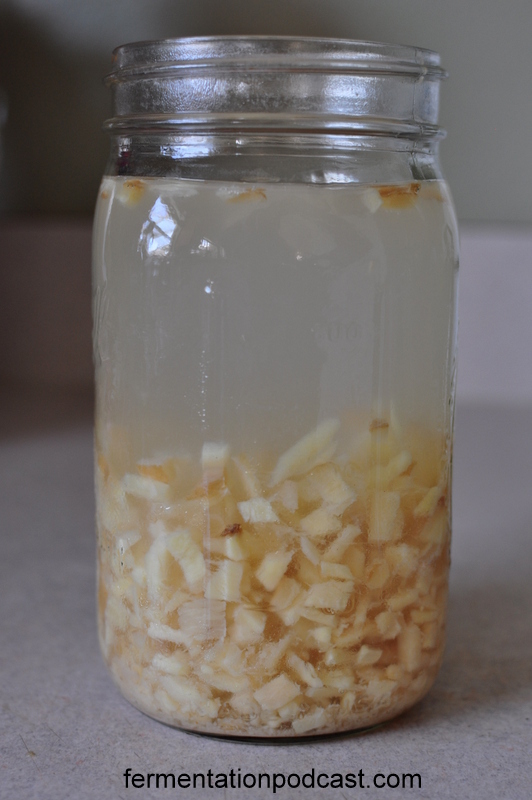
1/4 cup ginger bug (starter culture that’s made in less than a week and stores for quite a while, in Episode 4)
Non-chlorinated water, enough to fill jar (~ 3/4 cup)
Optional:
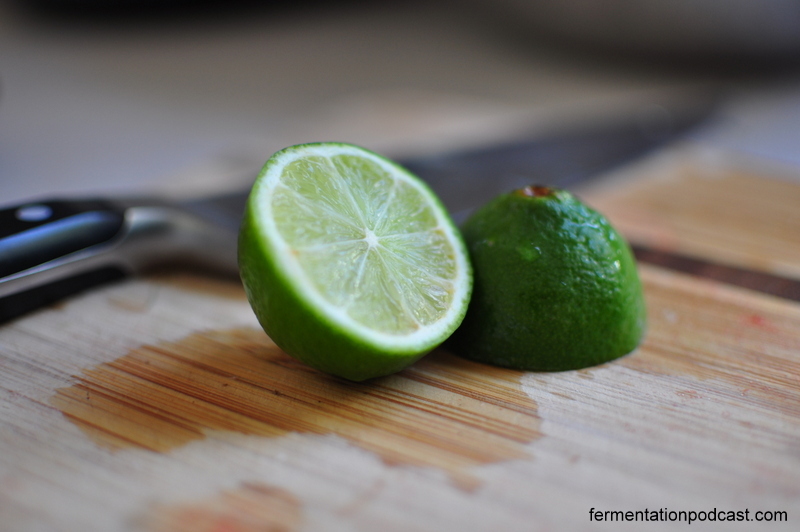
Juice of 1 lemon or lime (~ 2 T.)
Mint leaves
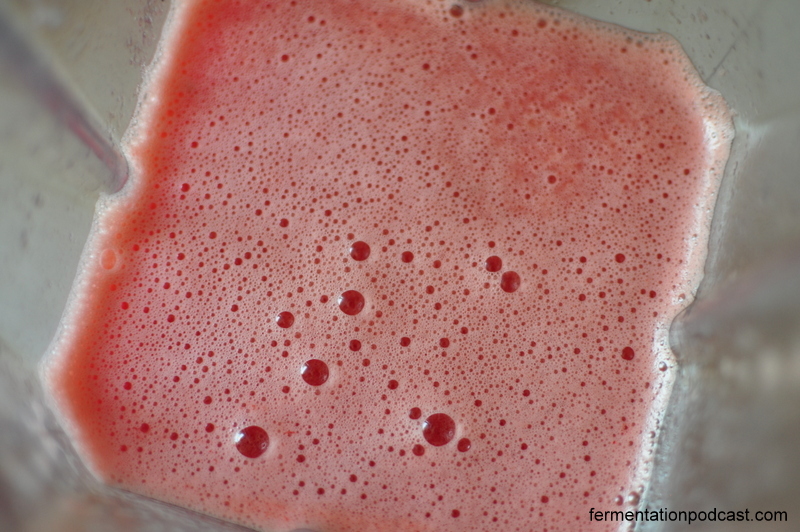
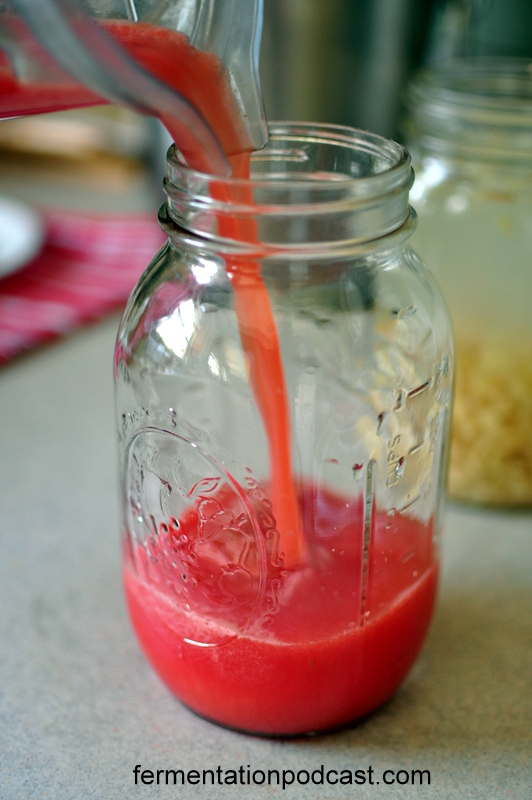
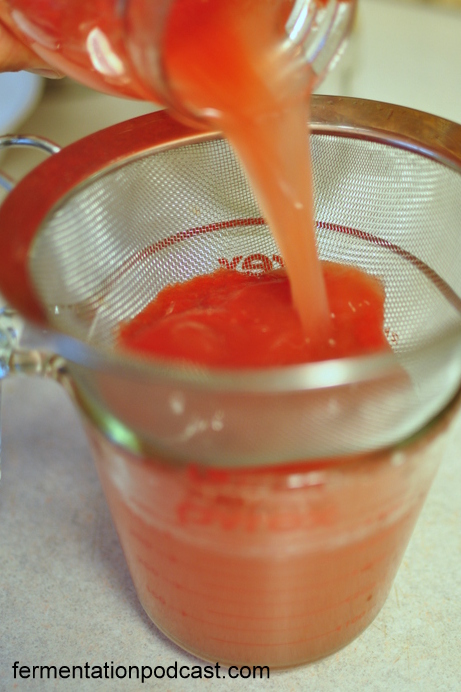
You can do this one of two ways: ferment with pulp or strain and ferment with only the watermelon juice. I think from now on I’ll try the second way without the pulp. You can either blend up the watermelon somewhat coarsely and then put it unstrained into the mason jar to be fermented or you can strain it through a sieve first to get the pulp out and only have the juice left. If you’re straining, let the watermelon juice drain naturally and not force it through or more particles will be in the soda, otherwise you’ll be doing the same step later after it’s done fermenting.
Transfer to jar and add remaining ingredients (through sieve if necessary), topping off with water to fill to about an inch or so from the top.
Ferment for 2 days or so stirring a couple or few times a day to oxygenate the yeast in the ginger bug.
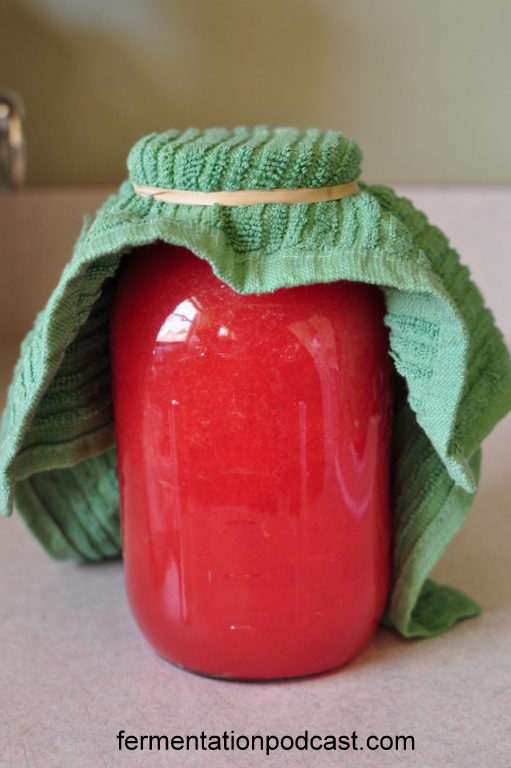
Don’t forget to cover the top so bugs and dust doesn’t get into your beautiful brewing liquid. I just used a towel and a rubber band but even a paper towel or layers of cheesecloth would work.
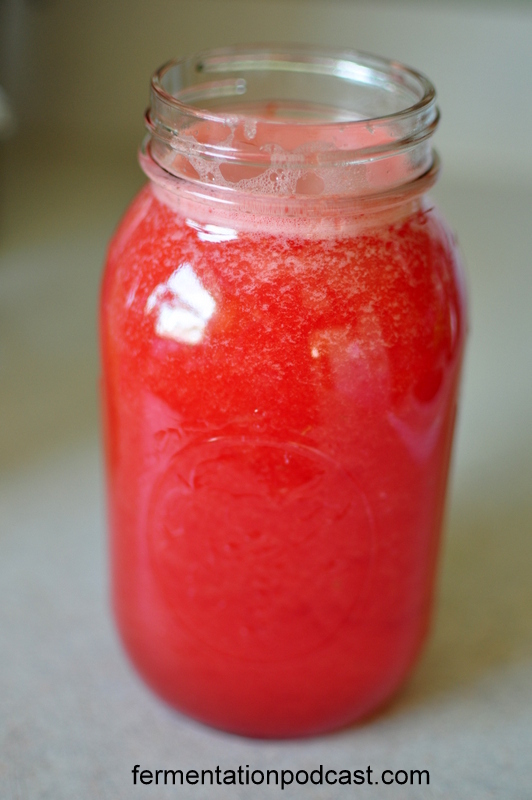
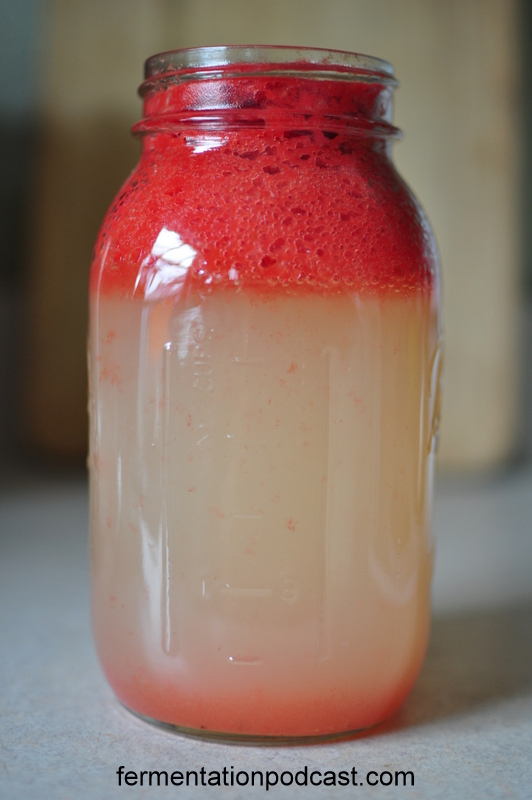
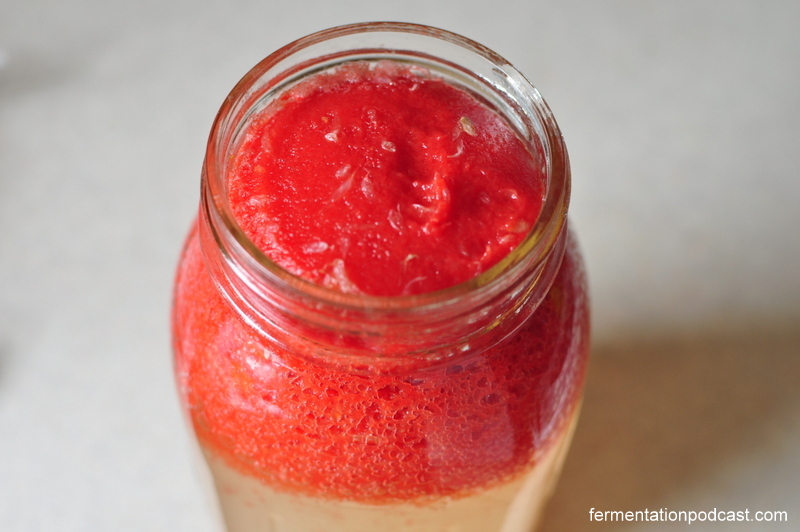
Between stirring a few times a day, if you haven’t filtered out the watermelon pulp, it will begin to separate into a fairly clear liquid and the bright red pulp which is normal.
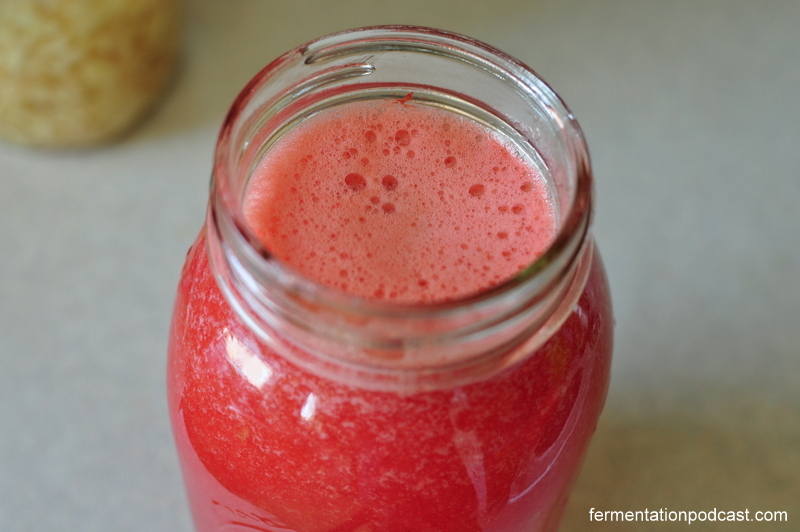
Taste every day once you start to see bubbles to brew it to your desired sweetness and sourness. The fewer amount of days you brew it for the more this ends up being more like a watermelon drink recipe. The longer you ferment it, the more it ends up being more of a tangy drink that’s great with ice on the beach!
Once you get the taste that you’re looking for, strain through a sieve if you haven’t already. Otherwise you already have a clear liquid that you can bottle in flip top bottles for a day or so to carbonate if you like it fizzy. If you don’t want any carbonation, just refrigerate. Don’t forget to have one plastic bottle to check the pressure!
Notes for Next Time:
Maybe 3 T sugar instead or ferment out longer to use up more of the sugar
Mint would be really amazing in this recipe
I’ll try straining the pulp out first
You could add a drop of ice cream to make a a watermelon cream soda or a watermelon ice cream float
Also to make a watermelon cream soda, I might try adding some cream of tartar
Adding fruits like kiwi could make a nice watermelon kiwi soda
I hope you enjoyed this recipe! Let me know what you think in the comments below or if you have any great ideas, let me know! I’ll try anything that sounds good.
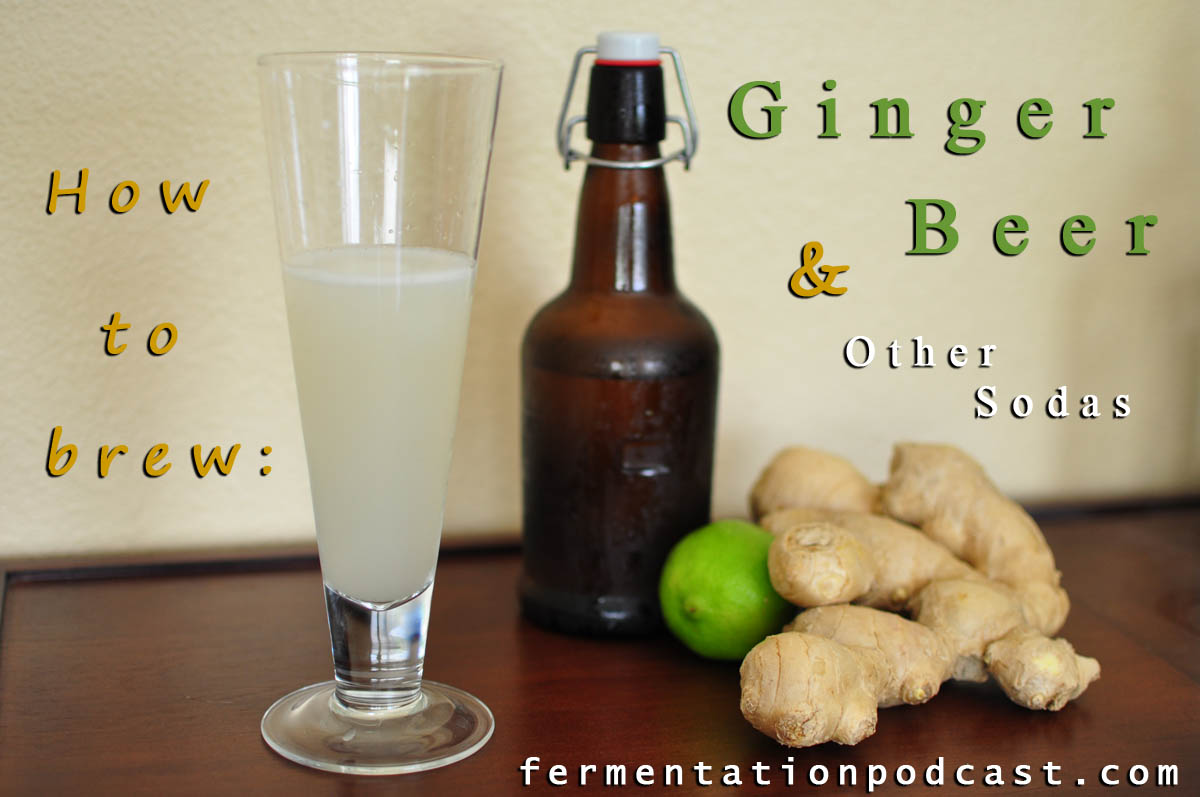
Today I wanted to cover how to make ginger beer, how to make lacto-fermented soda, and some of the benefits of drinking ginger beer (or ginger ale). The history behind ginger beer is long and somewhat obscure but there’s no doubt of it’s popularity and it’s great taste.
Also, once you know how to make homemade ginger beer, you should be able to make any kind of lacto-fermented soda and that’s my goal for today’s show. You should have the confidence to go to the store, buy some ginger, go home tonight and make some ginger beer yourself with some easy steps to follow and I tell you my ginger beer recipe.
Once you make a ginger bug, make sure to keep it alive and feed it every once in a while so you can continue this ferment on for a long time. Have people taste test your ginger beer and maybe even throw a party for people to try all of the flavor combinations you can come up with.
If you have any interesting flavors and recipes, make sure to comment below in the show notes and let me know because I’d love to try anything that tastes great!
TOPICS INCLUDED IN TODAY’S FERMENTATION PODCAST:
What is ginger beer and what does it taste like?
What are some of the benefits of ginger beer?
The history of ginger beer and ginger ale
The difference between a lactic acid & yeast fermentation and a lactic acid only fermentation
How do you make a ginger bug and what it is
The difference between a lactic acid & yeast and just a lacid acid fermentation using whey
Making the syrup for a ginger beer or ginger ale (ginger beer recipe)
How to make a lacto-fermented soda
What are some flavor possibilities with several ingredients like fruit and herbs
I’d love to hear your thoughts on today’s show so be sure to comment below or if you have an idea for the show, email me at paul at fermentationpodcast.com or just click on the Contact button on top of this page and fill out the form. I look forward to hearing from you!
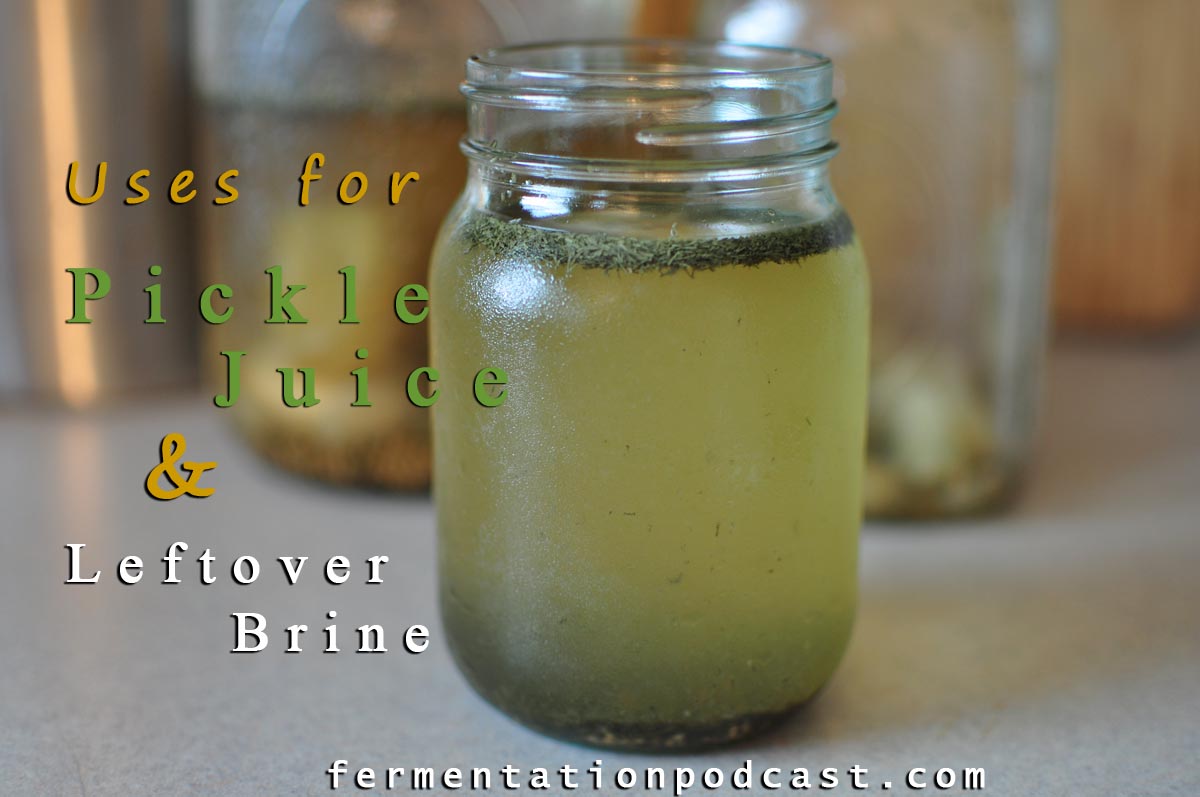
What can you do with leftover pickle juice or any of the fermented brines that we’ve all come to have in abundance when you get into fermenting? I mean you don’t just pour it out do you? Do you?!? This is something I quickly began to think about as soon as I had multiple jars of different types of pickles (cucumber, peppers, garlic) that was soon pickle-less and all brine.
There’s some benefits of pickle juice that you may not realize and I have to admit, I didn’t either until I started considering the options instead of pouring out that magical stuff.
Below is a long list that should give you some ideas on what to do with all of that flavorful pickle brine goodness.
Repickle!
That’s right! Why didn’t you think of it before? Once those pickles are gone from the brine, toss in some fresh ones, set it on the counter and pickle the new ones in the old brine.
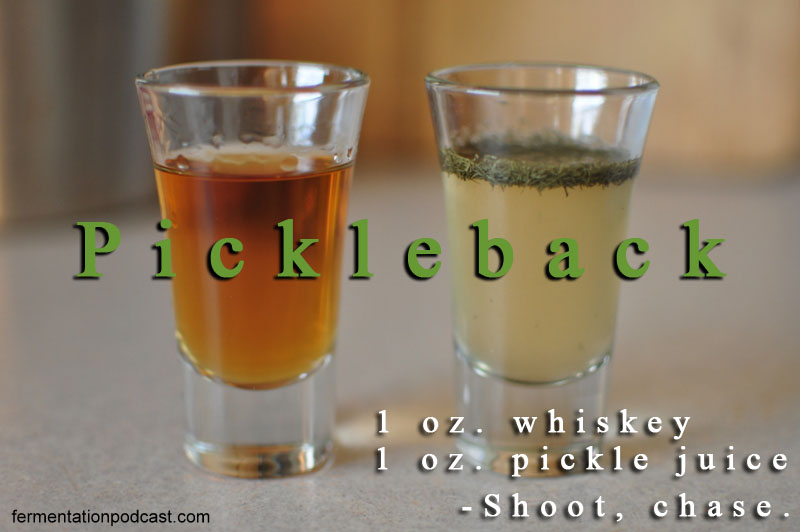
Alcoholic Drinks: Bloody Mary or a Pickleback
For that typical vinegar-like flavor that a Bloody Mary requires, try using fresh pickle juice.
Another interesting idea for a drink is actually a popular shot called a “Pickleback” which is a whiskey shot followed by a chaser of pickle juice. Try it. (1 oz. whiskey, 1 oz pickle juice)
As a side note, you know after taking this picture, I had to try it. Whiskey doesn’t pour back into a bottle ya know.
Home Remedies with Pickle Juice
Hangover Cure – After the above, it’d be interesting to see a hangover cured by what helped get you the hangover in the first place. I haven’t actually tried this one, but the next time you happen to have a hangover, give it a try. It’s thought to replenish the sodium and mineral levels in the body that a hangover depletes.
Heartburn – Pickle juice has been used as a soothing agent for heartburn.
PMS – Pickle juice may lessen the affects of cramps in the same way that athletes use it for post-workout cramps.
Sports Drink
There are several athletes that use pickle juice for hydration because of the sodium and electrolytes that pickle juice can contain. If you’re pickling, I highly suggest using sea salt to get more of a mineral range than table salt. In the sports world, it’s also a known habit for athletes to drink pickle juice after a workout to reduce cramping. Give it a try!
Pickle Shots to your Health
Some people have a craving for pickle juice just for the taste, but think about all of those vitamins, minerals, and probiotics in that magical liquid? And of course I’m talking about homemade pickle juice and not the store-bought dead kind.
Why get rid of all of that nutrition? Have a sip or two occasionally and drink in all that flavor.
Boost the Flavor of your Recipes
Try adding more flavor to dishes like rice, fish, tempeh, tofu, hummus, or anything that calls for vinegar or needs more of a salty/tangy zing.
When boiling potatoes, add some pickle juice to the water to infuse a special something that people won’t be able to place but they’ll know it just tastes amazing! While you’re at it in potatoes, add it to potato salad for that tanginess that those recipes need.
Marinades
Pickle juice is an acid so marinating a protein in pickle juice brine can flavor and tenderize it whether it’s meat, tofu, tempeh or whatever.
Pickle Popsicles
Just like the title says. Make some popsicles and make it pickled.
Poaching Fish
When poaching fish, try adding pickle brine to the poaching water to infuse some of that acid flavor.
Salad Dressings
Why use regular old distilled vinegar when you can leftover brine for your salad dressings?
Sauces
Need some to add some sour to any sauces? Add a small amount to BBQ sauce or even creamy Alfredo type sauces. I’ve added pickle juice to a white bean puree and it was amazing over pasta.
Household Cleaner
Did you know that people in the restaurant industry sometimes use pickle juice to clean blackened copper pans? You can also try using this for your BBQ grill.
Compost
I’m putting this at the end of the list because since there are so many uses, it almost seems crazy just to pour it into your compost bin, but if
So like I said before. Don’t through out that old brine! It has more flavor than you know and probably more uses than we can even think of. Got another interesting one? Post it in the comments below!
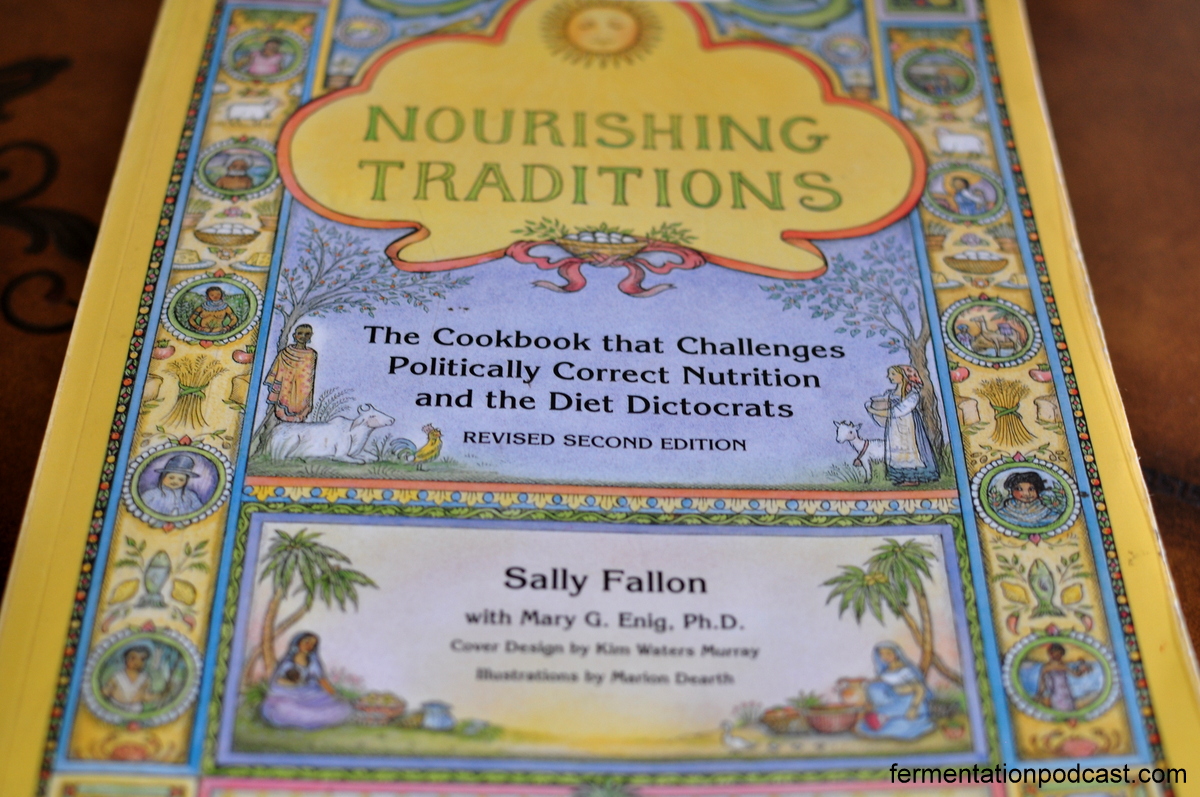
Today I do a book review on Nourishing Traditions by Sallon Fallon and Mary Enig. This book has been held in high regards by many homesteaders, fermentation enthusiasts, and generally by several people who want to eat more naturally and back to the earth.
While I don’t agree with everything in the book, I feel there’s a wealth of knowledge and for the Nourishing Traditions recipes alone it’s worth a look. I go chapter by chapter just talking about the structure of the book and what to expect if you were to flip through it.
Sally Fallon Morrell and Mary Enig are co-founders of the Weston A. Price Foundation and advocate the consumption of unprocessed natural foods including traditional fats (animal and plant), organic fruits and vegetables, lacto-fermented foods including things such as sauerkraut and dairy products, whole grains that have either been soaked or sprouted, and bone stocks.
They are also opposed to veganism and certain parts of vegetarianism which although I don’t support this stance, there are many good recipes that vegans or vegetarians would appreciate such as the sections on lacto-fermentation of vegetables, fruits, and grains.
TOPICS INCLUDED IN TODAY’S FERMENTATION PODCAST:
Nourishing Traditions book introduction
The basics such as: fermenting dairy products, fermented vegetables & fruits, sprouted grains, nuts & seeds, stocks, salad dressings, sauces
Hors d’oeuvres and starters such as dips, salads, soups, raw meat appetizers, and gourmet appetizers
The main course such as: fish, poultry, organ meats, game, beef & lamb
A catalog of vegetables
Lunch foods, eggs, and Mexican style, and sandwiches
Grains and legumes
Snacks & finger foods
Desserts
Beverages including fermented beverages like kvass, ginger ale, etc.
Feeding babies, infant nutrition, and tips for successful breastfeeding
I’d love to hear your thoughts on today’s show so be sure to comment below or if you have an idea for the show, email me at paul at fermentationpodcast.com or just click on the Contact button on top of this page and fill out the form. I look forward to hearing from you!
Dill pickles! Most of us love them and we all know what a store bought pickle tastes like, but how about learning how to make real, old-fashioned, homemade dill pickles using simply a salt brine?
It’s not as hard as you might think and takes such a short amount of actual “work time” that I think it’s worth it to never buy another pickle jar for the rest of your life. I haven’t!
The Benefits of Homemade Pickles vs. Store Bought Pickles
The benefits of the old-fashioned way over the new-age pasteurization way are many but here’s just a few:
Life – you’re eating a living food full of life and vitality
Ingredient variations – you can make them taste exactly how you’d like (too salty? not salty enough? mouth watering yet?)
Pickle variations – The permutations of the type of things you can pickle are limitless and you don’t even need to use cucumbers! (watermelon pickles anyone?)
The nutrients are higher since nutrients are not destroyed in the pasteurization process
No chemicals since you are the one in charge of quality control
Freshness – you can walk out to your garden or go to your local farmer’s market and make pickles that have just been picked
Flavor – the boldness of flavor cannot be compared when you’re talking about real pickles made by lacto-fermentation instead of pickles that have been made with dead vinegar
The Benefits of Store Bought Pickles vs. Homemade Pickles
Store bought pickles do have a couple benefits over homemade ones but it’s usually only companies that reap these benefits but they’re worth noting:
Storage life – since everything is dead, it can literally sit on the shelf for years without going bad
Homogenization of flavor and predictable results – the pickles from every jar you open will taste the same (How boring is that?)
We love this dill pickle recipe and think you will too. Check out the full video and subscribe to our YouTube channel. We appreciate your support!
Homemade Dill Pickle Recipe
Makes 1 quart jar of pickles
(for 1 gallon multiply ingredients by approx. 4)
This is my favorite recipe for crunchy, salty, slightly garlicy pickles to put on sandwiches or to just crunch into. Towards the end of the ferment, the aroma these beauties give off is irresistible to walk near.
Equipment:
1 quart mason jar, wide-mouth, cleaned
1 half pint mason jar, cleaned (jelly jar for weight)
Plate (for overflow)
Ingredients:
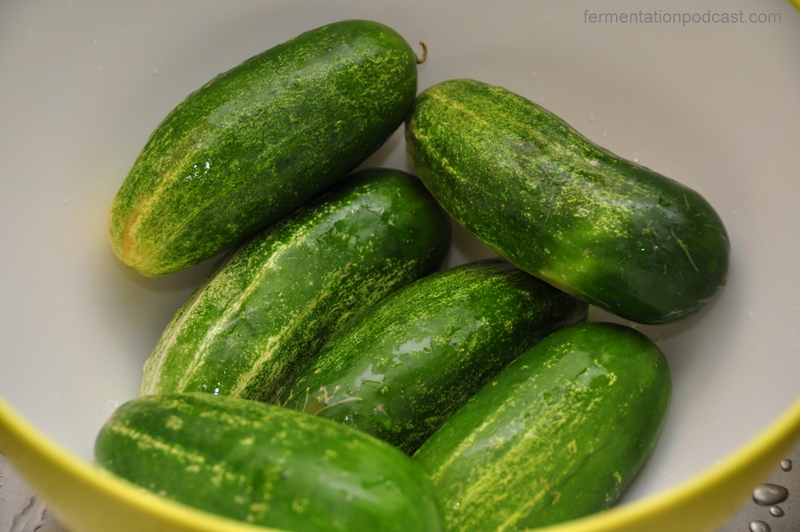
Pickling cucumbers, enough to fill mason jar (usually about 3-4 medium pickling cukes)
1/2 T. dill, dried OR 1 1/2 T. dill, fresh
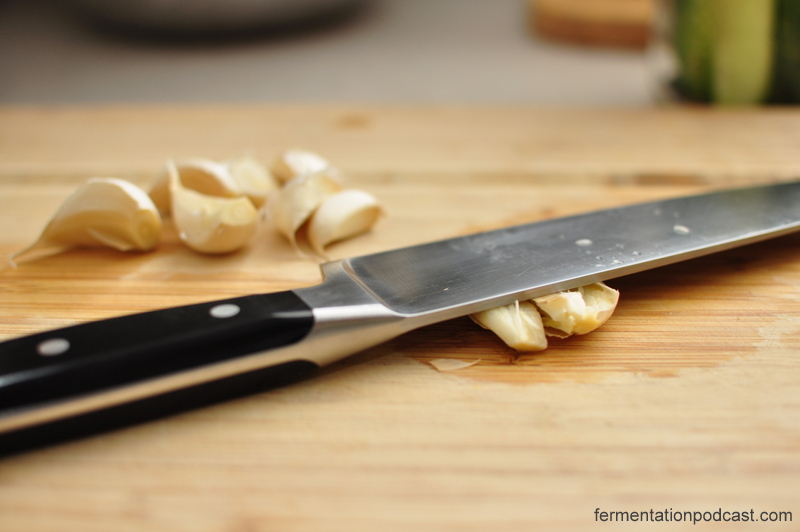
4 garlic cloves, smashed
Non-chlorinated water, enough to fill jar when packed
Sea salt, to taste (I use 3/4 T. to 1 cup water ratio, but you can use less)
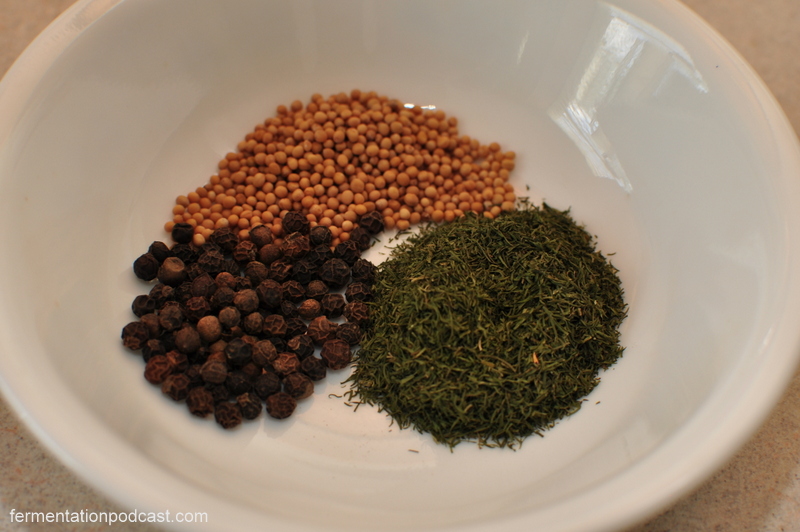
Optional:
1 tsp mustard seeds
1 tsp black peppercorns
2 hot peppers, sliced lengthwise (for spicy)
1/4 onion, sliced (for strong onion flavor)
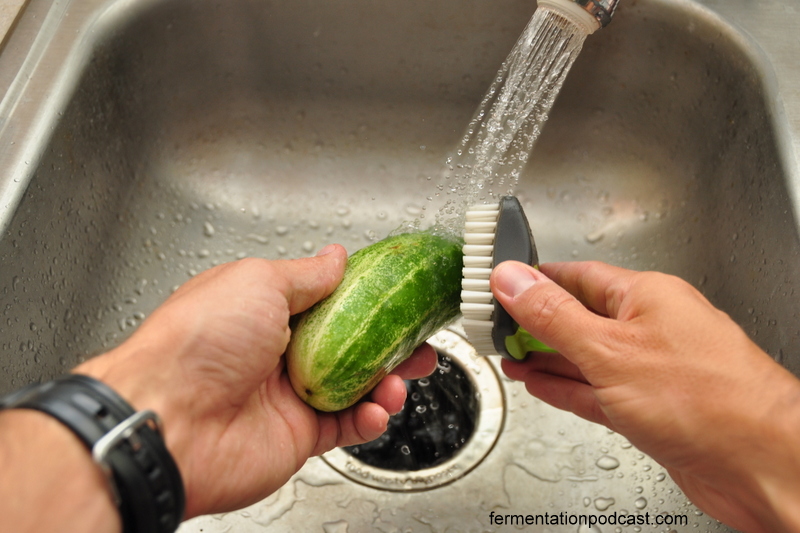
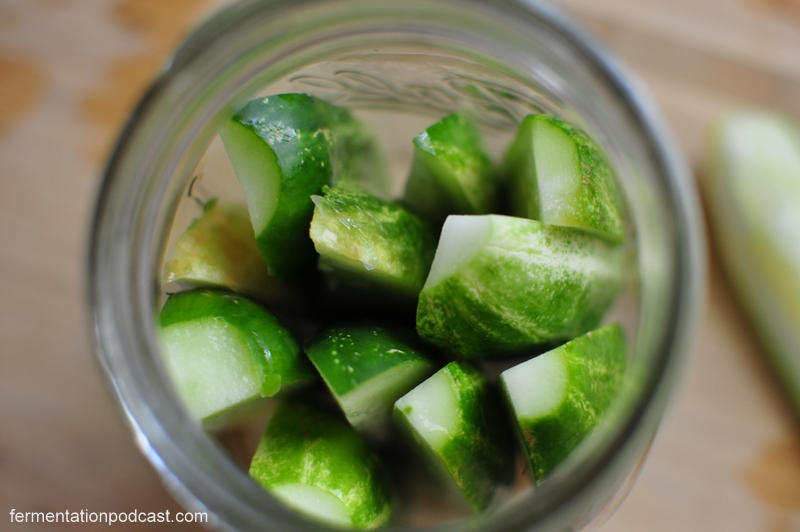
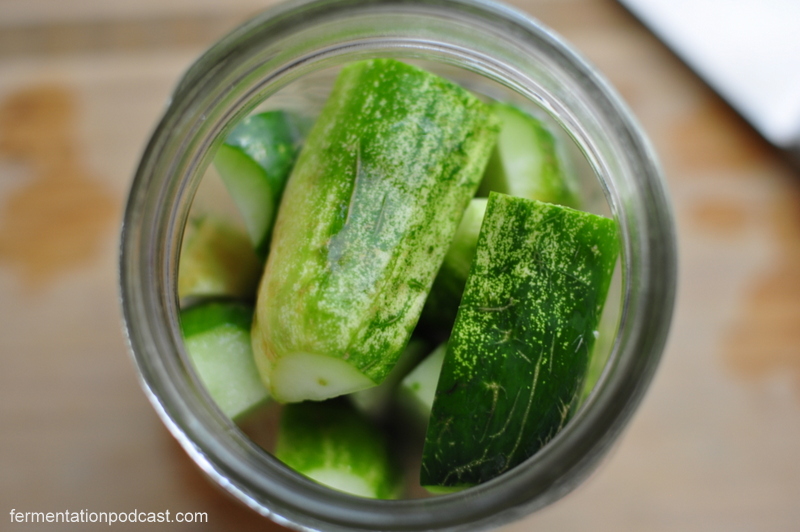
Scrub cukes clean of dirt under running water.
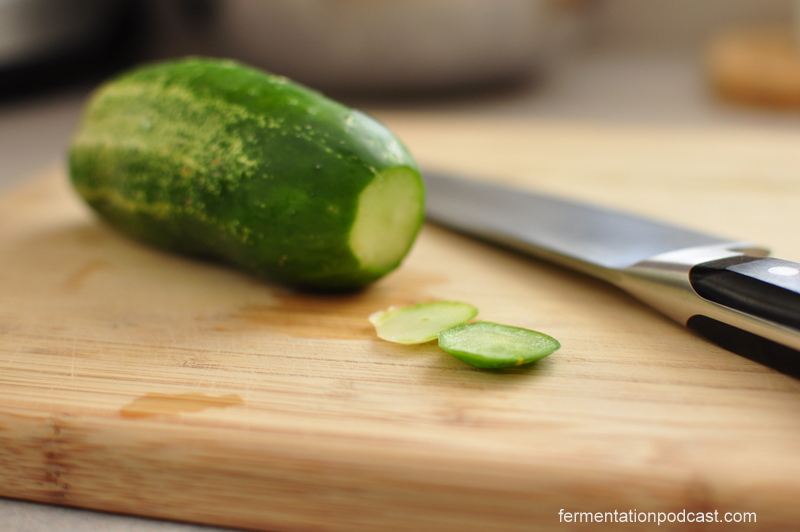
Slice or scrape the blossom ends off (this is supposed to keep them crisper).
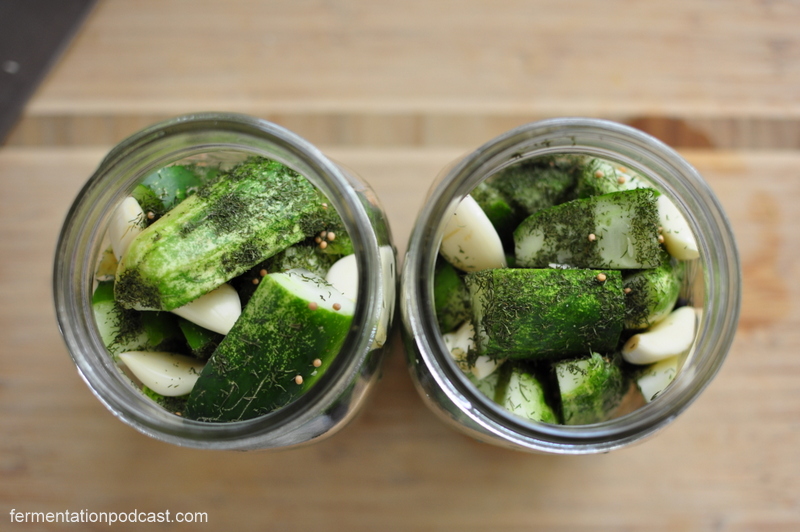
Put the quart mason jar on the plate in case of overflow. Pack cukes either whole, sliced lengthwise, or cut however you like them enough to create a tight fit in the mason jar. I usually cut one in half to make a tight fit up top.
Put remaining ingredients in jar, shake or move ingredients to fill the crevices.
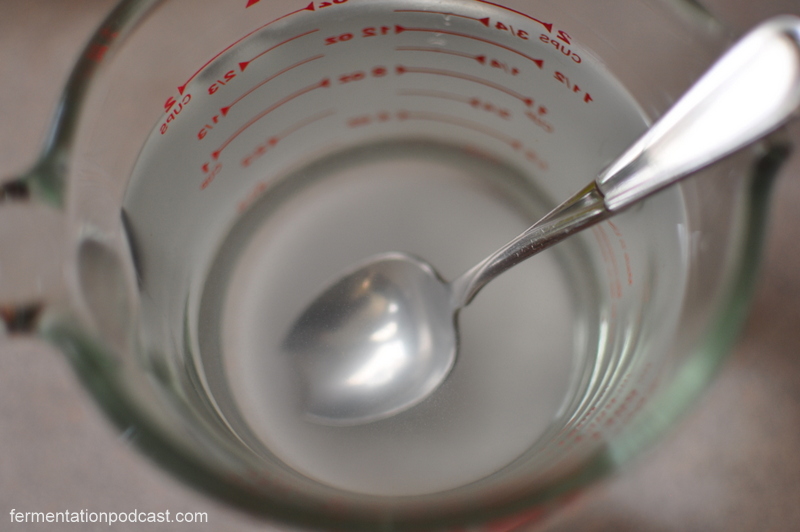
Mix the water and sea salt, pour enough into the jar to cover, and leave a 1/2 inch to 1 inch gap at the top.
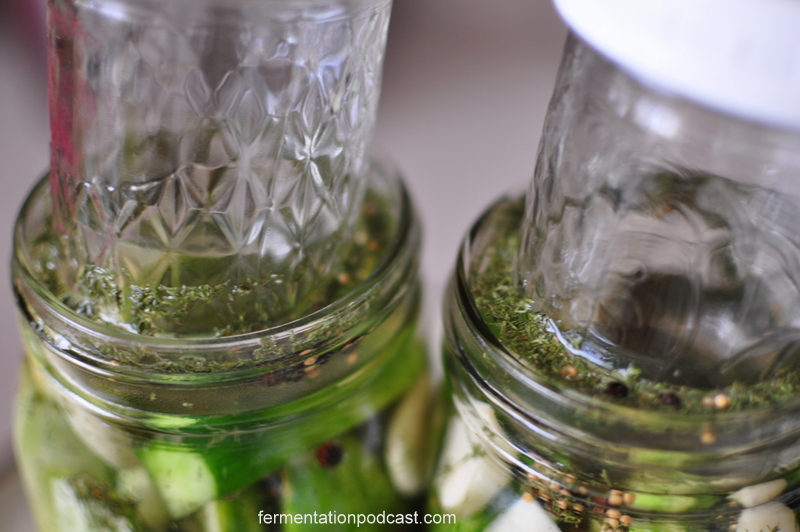
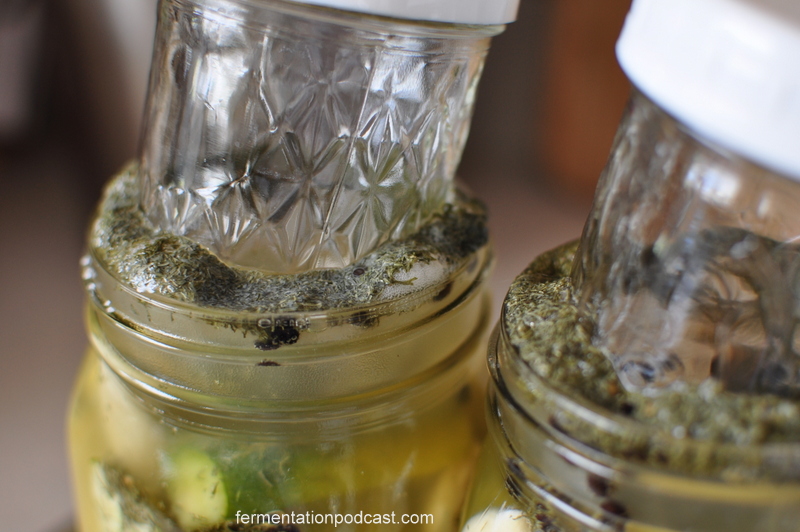
As soon as you start pouring the salt brine over the cucumbers, they’ll float to the top so we’ll want to weigh them down to submerge them.
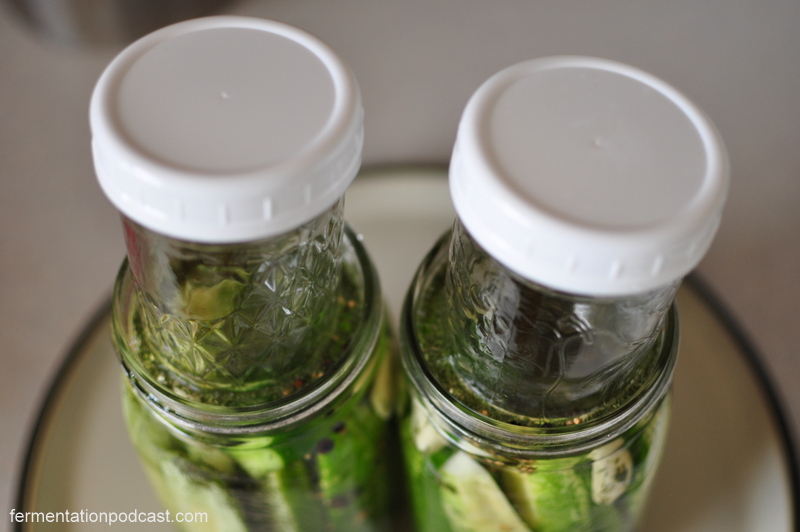
Insert small mason jar into the mouth of the large one enough to submerge ingredients in the larger jar below the water line. Pour more water into the side if more water is needed. If the jars float, fill with water/something to weigh it down. I try to fill them just about to the top but you’ll have to remember that it will overflow.
Leave on the counter to ferment anywhere from 3-7 days. The temperature in my house is usually about 72 degrees F so 3 days is what I like. Try a slice of a pickle everyday to see what crispness or sour level you enjoy.
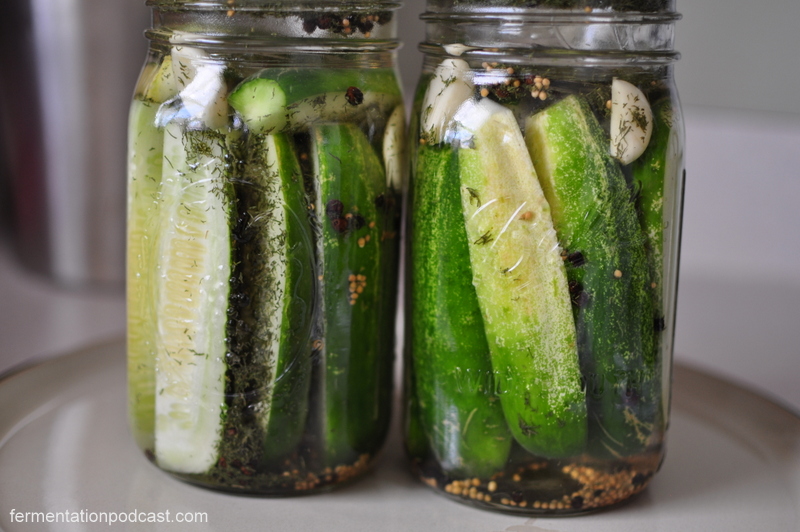
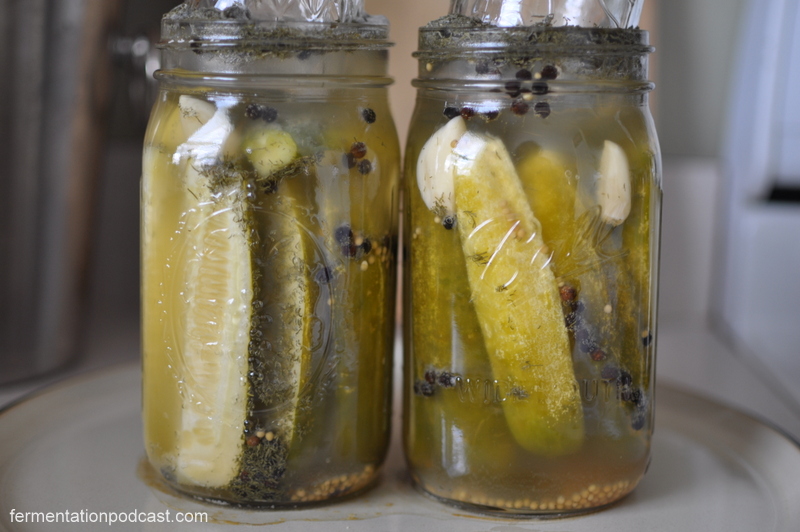
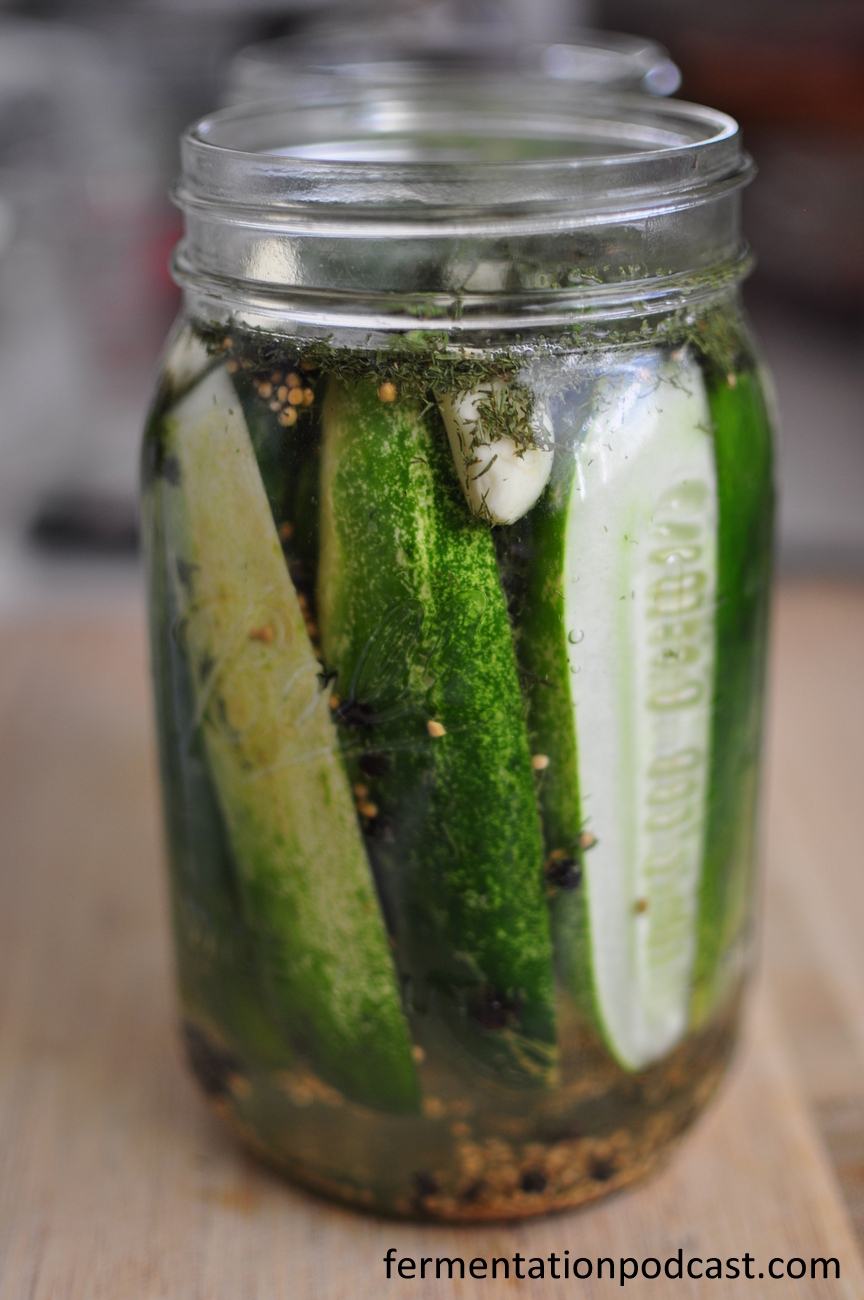
Here’s how they looked after they were done being prepped:
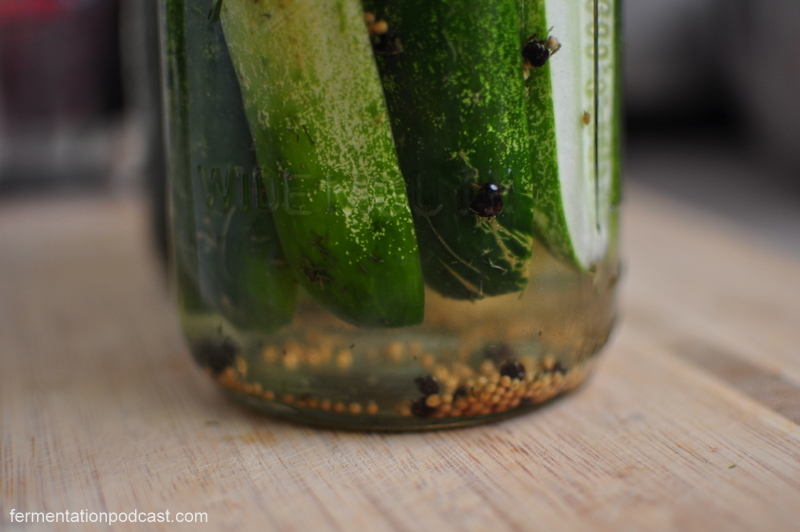
This is day 1:
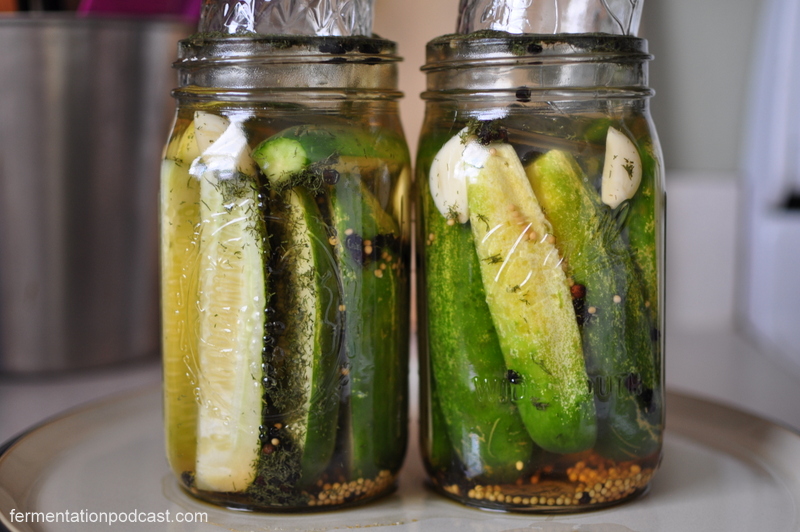
This is day 2:
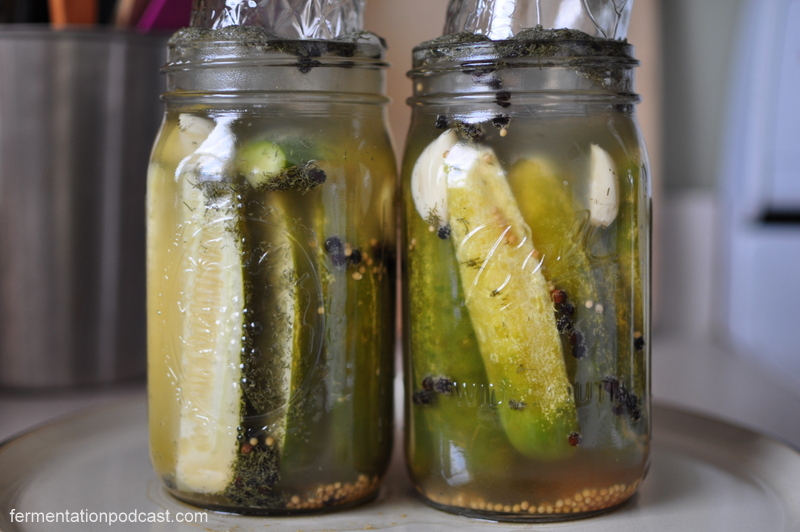
This is day 3 (which is how many days I like at 72 degrees F with the amount of salt I used):
Once fermentation is to your liking, put in the fridge or a cool root cellar where it should keep for quite a while (I have some from more than a year old).
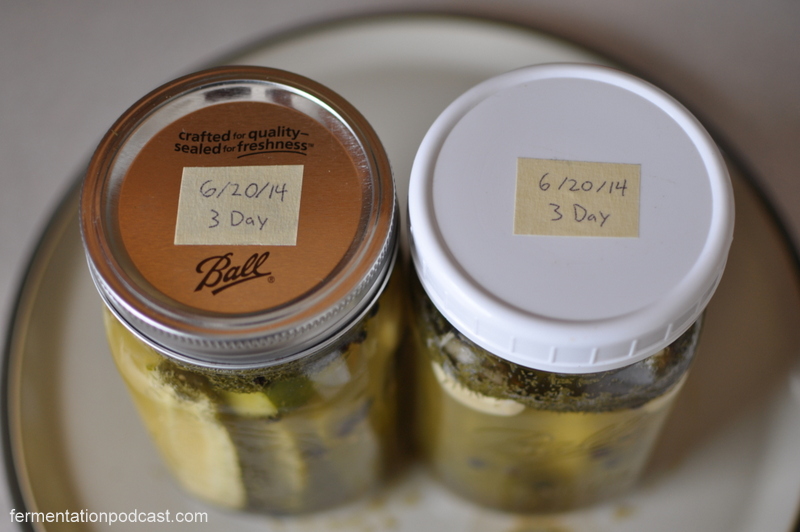
Don’t forget to label your pickles with the date or you’ll never remember when you put them in the fridge!
Yum!
Extra Notes and Observations
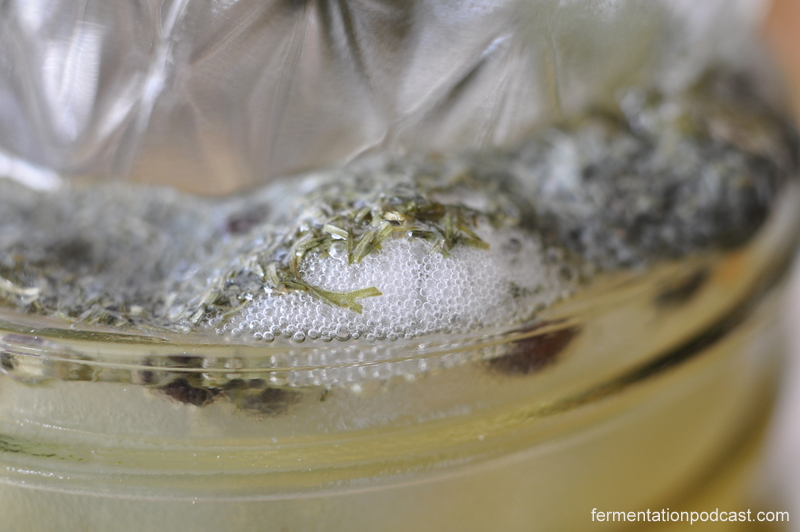
On a few extra notes below, you can see that they start to change to a slightly yellowish color and start getting cloudy which is completely normal. You’ll also see bubbles coming up from the pickles and bubbling away on the top like you see in this picture below on Day 2:
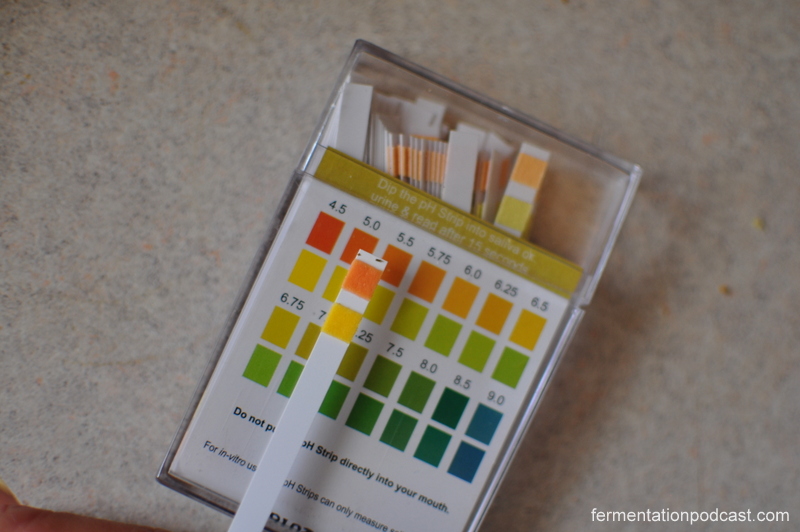
If you want to be a science nerd and do some pH testing, you can try some simple pH strips to start off and see what the pH is when you start which should be about neutral or almost 7.0. As soon as I got done I checked the pH and it looks like it’s somewhere in the 5 range. Unless the top one wasn’t working (orange), the bottom one almost looks more in the 4.5-ish range:
I hope you enjoyed this post on making homemade dill pickles through a salt brine from lacto-fermentation! They’re very delicious! Let me know what you think in the comments section below or if you have any great ideas, as always, let me know about it!
On today’s show I want to show you how to make homemade dill pickles the lacto-fermentation way. This is one of the first things I got started fermenting and one of the most flavorful things that I enjoy all the time on sandwiches or snacks etc.
I hope to convince at least a few of you guys to try to make at least one jar of pickles using the lacto-fermentation process to taste the difference between store bought and homemade crunchy dill pickles.
There are many doubts and fears when it comes to fermenting but if you put those aside for a moment and just make a jar of these fantastic koshers, I’m sure you’ll be a convert to the wonderful world of lacto-fermented foods.
I almost feel like this is a gateway into other things because as soon as I was done making dill pickles, I had to find out what was next. Tune in tomorrow on the website and I’ll post the recipe that you’ll hear on the show today along with some beautiful pictures along the way.
Good luck and keep on fermenting!
TOPICS INCLUDED IN TODAY’S FERMENTATION PODCAST:
The ins and outs of making dill pickles the old fashioned way
How the fear of botulism when it comes to lacto-fermented vegetables shouldn’t be a concern
Using lactic acid bacteria to our advantage and it’s biological processes
The traditional way to make homemade dill pickles vs the way it’s done today
Some history of Louis Pasteur and pasteurization
Lacto-fermented pickles compared to store bought
How to make these lacto-fermented dill pickles (recipe)
I’d love to hear your thoughts on today’s show so be sure to comment below or if you have an idea for the show, email me at paul at fermentationpodcast.com or just click on the Contact button on top of this page and fill out the form. I look forward to hearing from you!
Welcome to the first episode of The Fermentation Podcast!
I want to welcome you to The Fermentation Podcast. I never thought I’d ever create a podcast but I feel in the fermentation space there’s a gap of knowledge and community that appears to be missing in the mainstream. I hope to get people excited about fermentation and everything related to it.
I bring a wrinkle to the subject as I have been vegan for the past 9 years, but that isn’t stopping me from wanting to make sure the knowledge gets out there about how to ferment in all its shapes and forms because I think the information is invaluable and truly empowering. With my passion for fermented foods, permaculture, liberty, homesteading, and a general sense that people are really desiring to “go back to the good old days,” I hope to bring more awareness to the ancient art of fermenting foods, beverages, general food preservation, and the amazing flavors and aromas that come with fermentation.
Being able to take care of yourself and create things on your own without the help of the corporatocracy and government adds one more arrow to your quiver of living a life free from the systems that are constantly breeding dependence and ignorance.
I don’t proclaim to know everything but will be learning everything I can right alongside you and I want to share this journey with you!
TOPICS INCLUDED IN TODAY’S FERMENTATION PODCAST:
The process of fermentation, what happens, and is this just another life cycle?
Who am I, how did I get into fermentation, and what are some of the things I’ve fermented?
My background experience in work, permaculture, and photography
What does my political philosophy have to do with fermentation and why it’s important
What do I want to accomplish with this show?
A brief overview of some of the topics I want to talk about on this show including
Understanding the microbial world
Common Techniques of food preservation
Basic equipment
Fermented foods and beverages
Vegetable ferments
Fruit ferments
Fermented grains or starchy roots
Fermenting beans, nuts or seeds (or the family of plant proteins)
Fermenting dairy products into things like cheese, whey, yogurt, kefir, viili, or butter
Alcoholic products like beer, wine, or others that start to create a good amount of alcohol
Meat products or eggs
Dangers of fermentation
Fermentation in human history
Starting a fermentation business
Permaculture and why it’s important
Community or what I like to think of as “culture”
Show structure and ideas
Having people on for interviews
Member’s support and how I can fund The Fermentation Podcast
I’d love to hear your thoughts on today’s show so be sure to comment below or if you have an idea for the show, email me at paul at fermentationpodcast.com or just click on the Contact button on top of this page and fill out the form. I look forward to hearing from you!