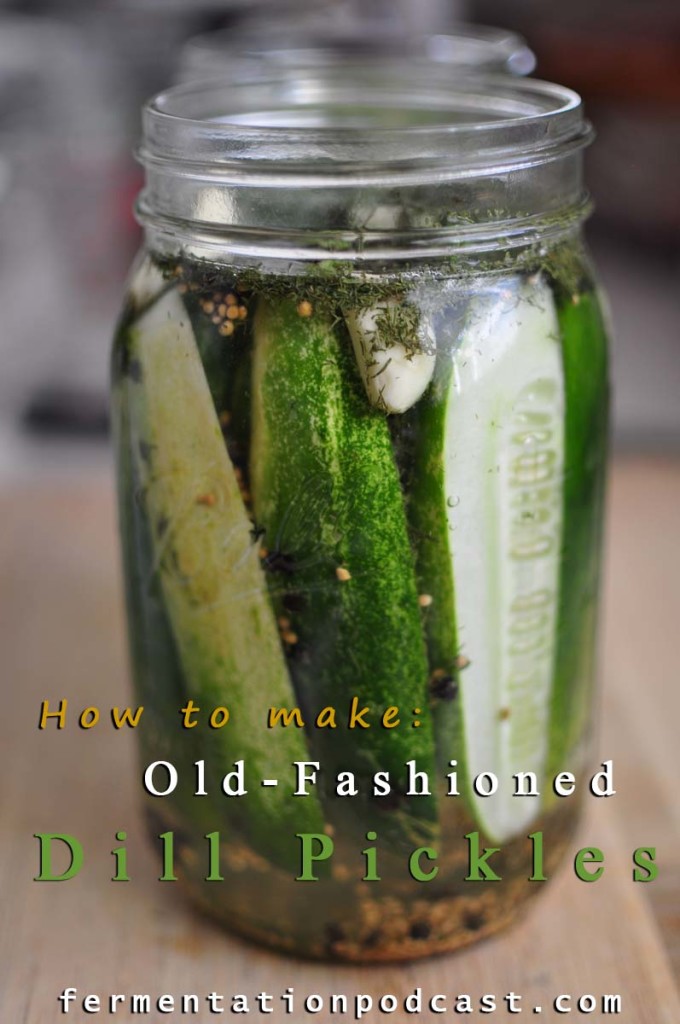
Dill pickles! Most of us love them and we all know what a store bought pickle tastes like, but how about learning how to make real, old-fashioned, homemade dill pickles using simply a salt brine?
It’s not as hard as you might think and takes such a short amount of actual “work time” that I think it’s worth it to never buy another pickle jar for the rest of your life. I haven’t!
The Benefits of Homemade Pickles vs. Store Bought Pickles
The benefits of the old-fashioned way over the new-age pasteurization way are many but here’s just a few:
- Life – you’re eating a living food full of life and vitality
- Ingredient variations – you can make them taste exactly how you’d like (too salty? not salty enough? mouth watering yet?)
- Pickle variations – The permutations of the type of things you can pickle are limitless and you don’t even need to use cucumbers! (watermelon pickles anyone?)
- The nutrients are higher since nutrients are not destroyed in the pasteurization process
- No chemicals since you are the one in charge of quality control
- Freshness – you can walk out to your garden or go to your local farmer’s market and make pickles that have just been picked
- Flavor – the boldness of flavor cannot be compared when you’re talking about real pickles made by lacto-fermentation instead of pickles that have been made with dead vinegar
The Benefits of Store Bought Pickles vs. Homemade Pickles
Store bought pickles do have a couple benefits over homemade ones but it’s usually only companies that reap these benefits but they’re worth noting:
- Storage life – since everything is dead, it can literally sit on the shelf for years without going bad
- Homogenization of flavor and predictable results – the pickles from every jar you open will taste the same (How boring is that?)
We love this dill pickle recipe and think you will too. Check out the full video and subscribe to our YouTube channel. We appreciate your support!
Homemade Dill Pickle Recipe
Makes 1 quart jar of pickles
(for 1 gallon multiply ingredients by approx. 4)
This is my favorite recipe for crunchy, salty, slightly garlicy pickles to put on sandwiches or to just crunch into. Towards the end of the ferment, the aroma these beauties give off is irresistible to walk near.
Equipment:
1 quart mason jar, wide-mouth, cleaned
1 half pint mason jar, cleaned (jelly jar for weight)
Plate (for overflow)
Ingredients:
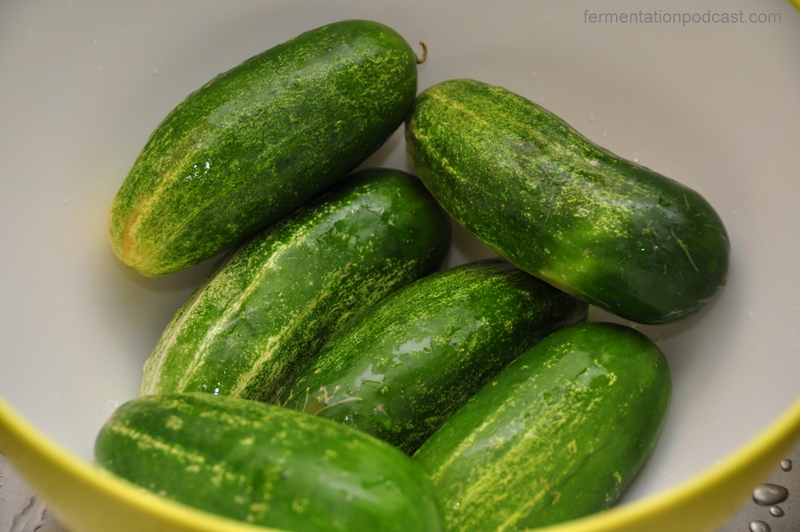
Pickling cucumbers, enough to fill mason jar (usually about 3-4 medium pickling cukes)
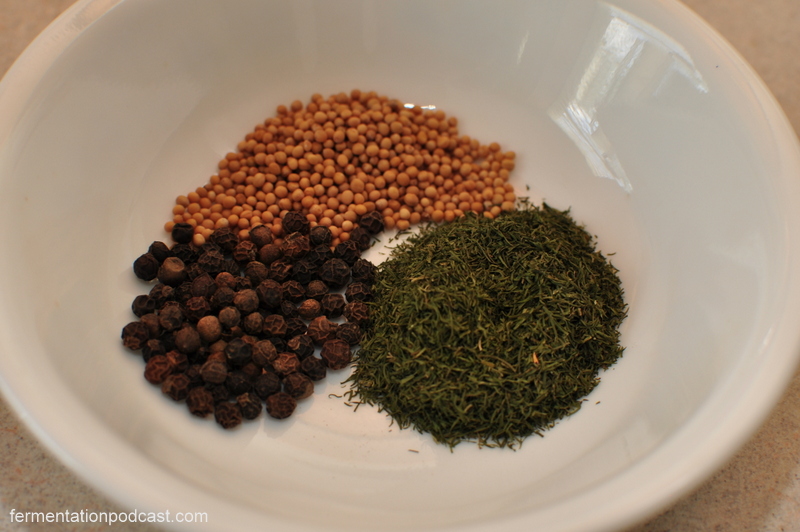
1/2 T. dill, dried OR 1 1/2 T. dill, fresh
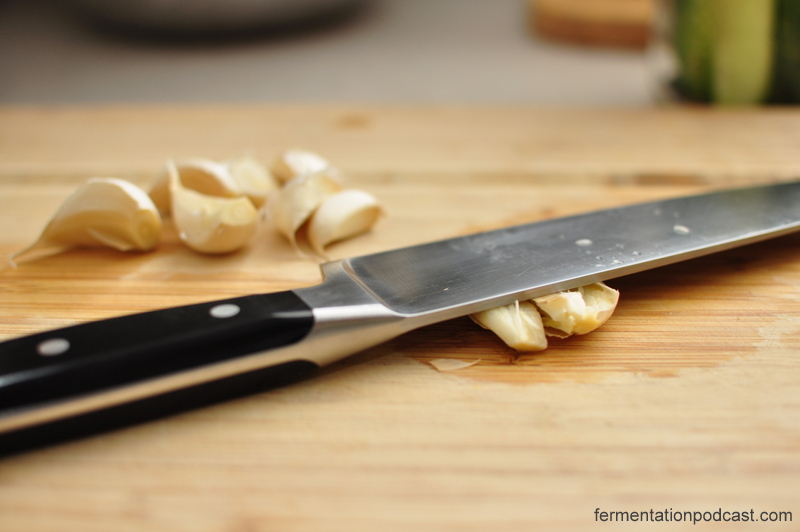
4 garlic cloves, smashed
Non-chlorinated water, enough to fill jar when packed
Sea salt, to taste (I use 3/4 T. to 1 cup water ratio, but you can use less)
Optional:
1 tsp mustard seeds
1 tsp black peppercorns
2 hot peppers, sliced lengthwise (for spicy)
1/4 onion, sliced (for strong onion flavor)
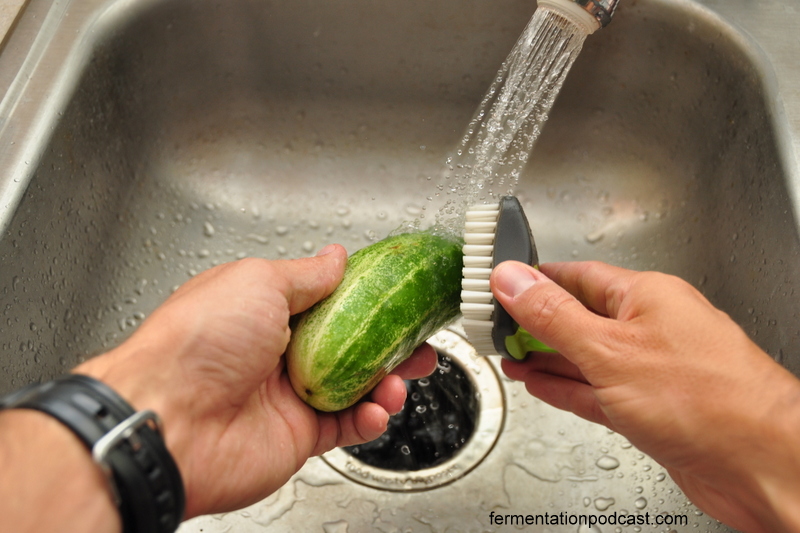
Scrub cukes clean of dirt under running water.
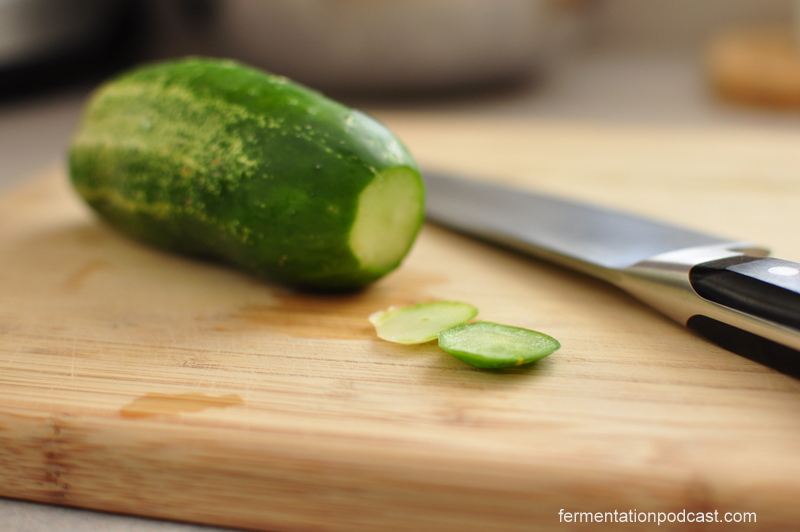
Slice or scrape the blossom ends off (this is supposed to keep them crisper).
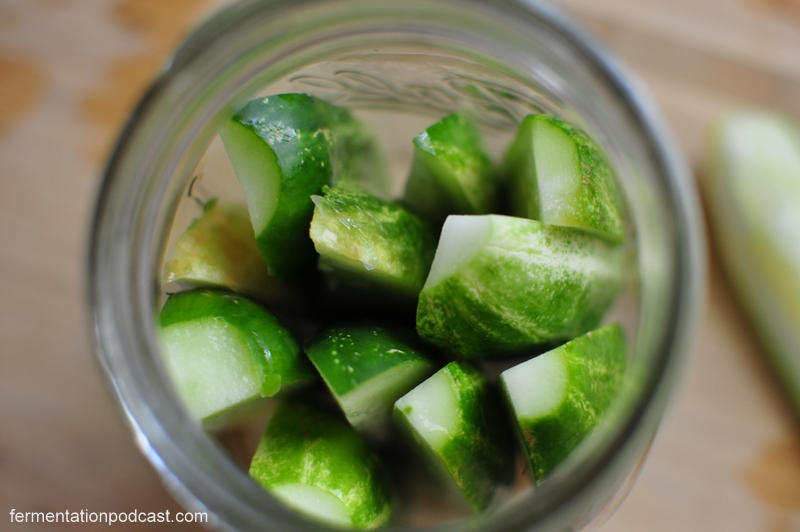
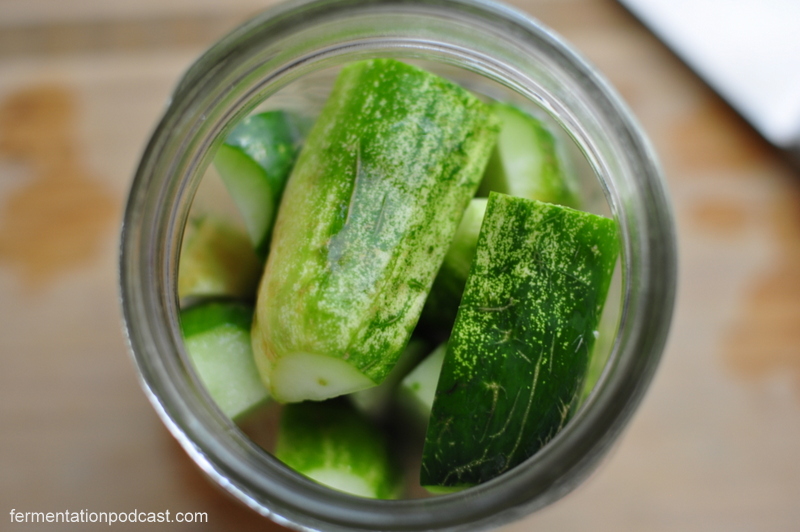
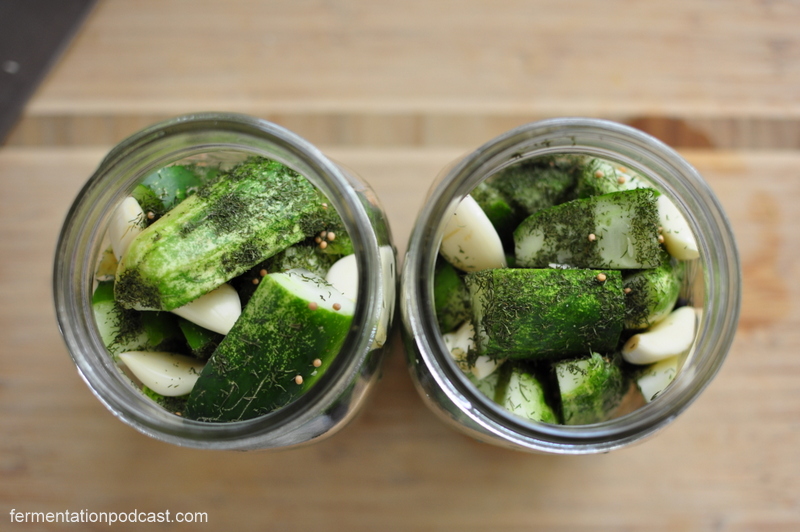
Put the quart mason jar on the plate in case of overflow. Pack cukes either whole, sliced lengthwise, or cut however you like them enough to create a tight fit in the mason jar. I usually cut one in half to make a tight fit up top.
Put remaining ingredients in jar, shake or move ingredients to fill the crevices.
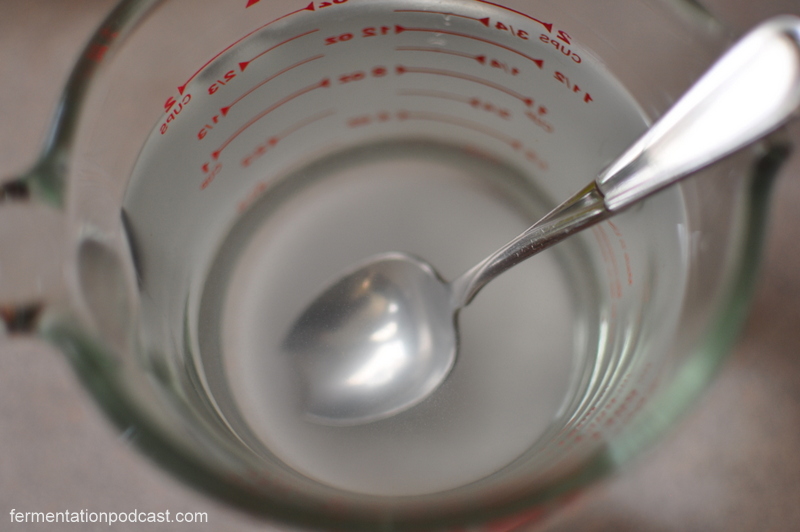
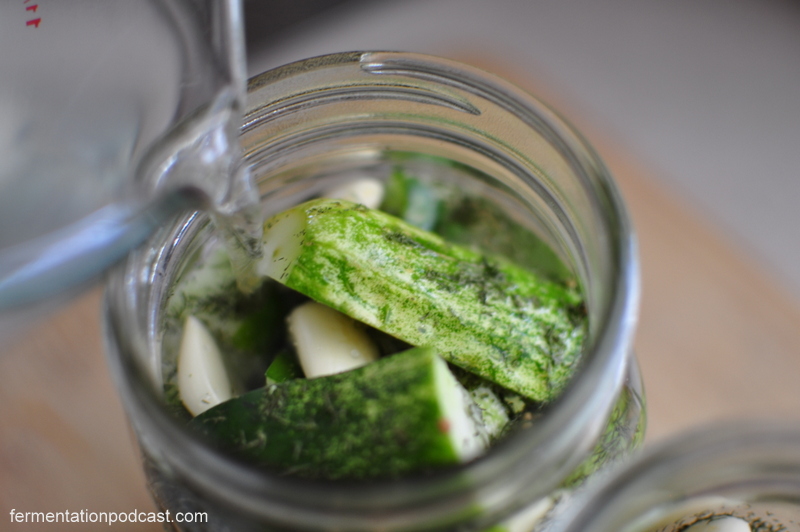
Mix the water and sea salt, pour enough into the jar to cover, and leave a 1/2 inch to 1 inch gap at the top.
As soon as you start pouring the salt brine over the cucumbers, they’ll float to the top so we’ll want to weigh them down to submerge them. 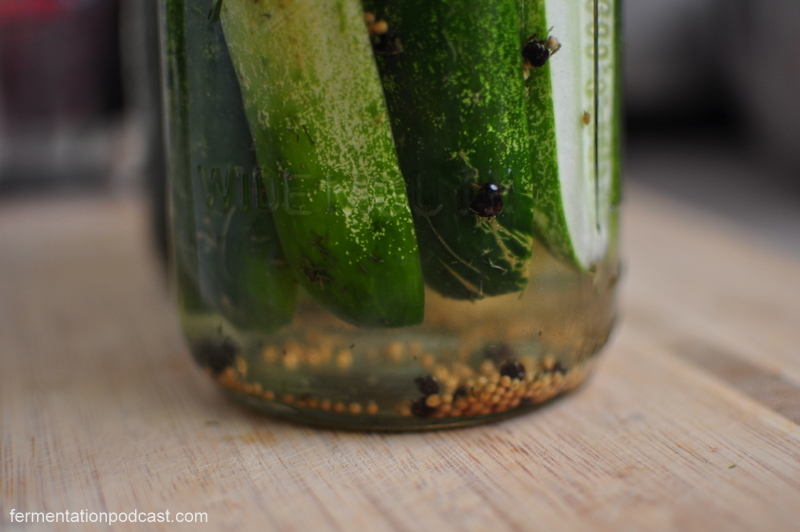
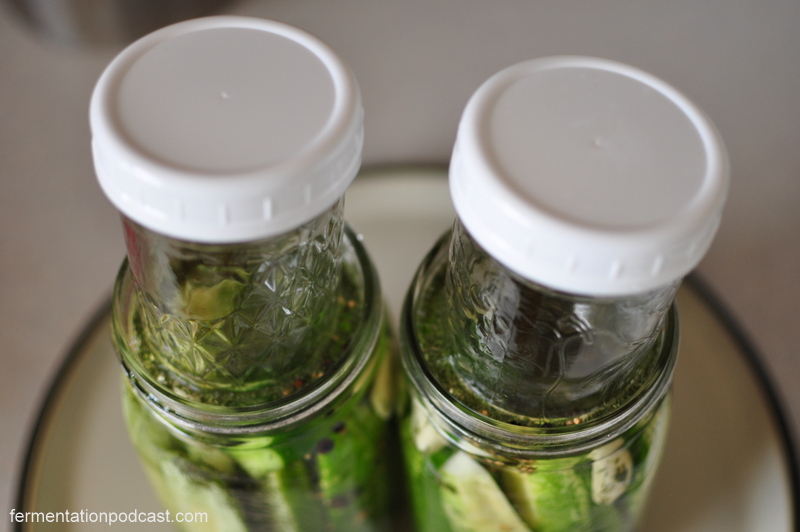
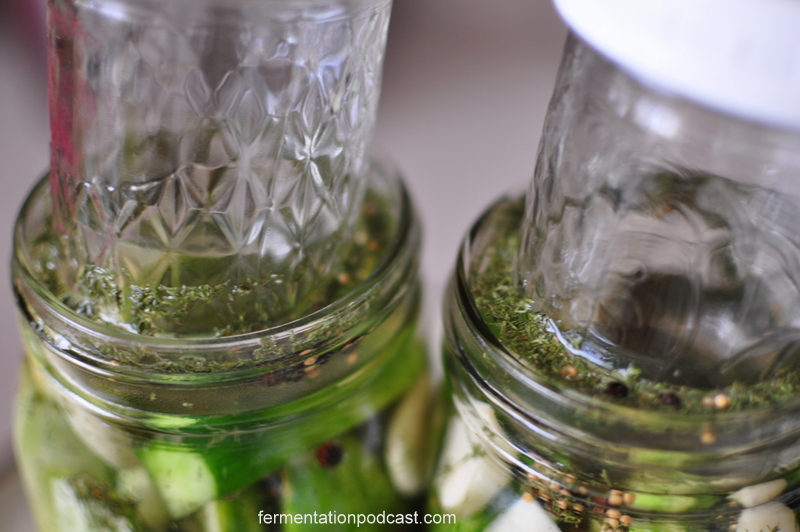
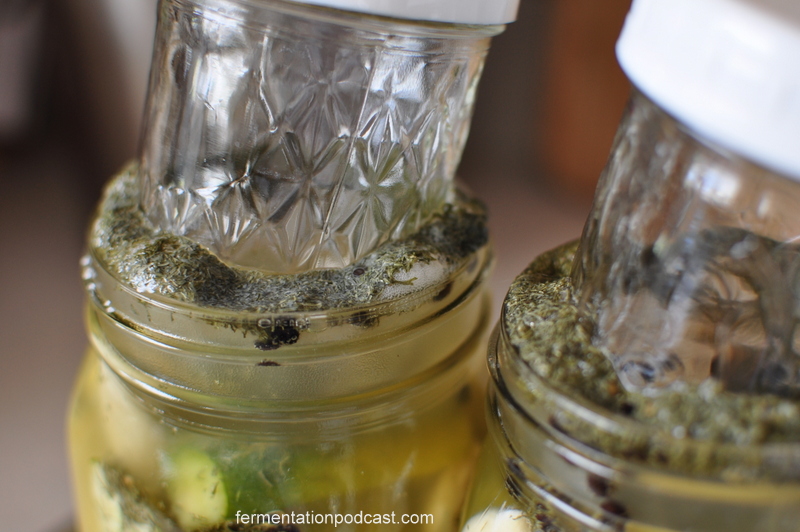
Insert small mason jar into the mouth of the large one enough to submerge ingredients in the larger jar below the water line. Pour more water into the side if more water is needed. If the jars float, fill with water/something to weigh it down. I try to fill them just about to the top but you’ll have to remember that it will overflow.
Leave on the counter to ferment anywhere from 3-7 days. The temperature in my house is usually about 72 degrees F so 3 days is what I like. Try a slice of a pickle everyday to see what crispness or sour level you enjoy.
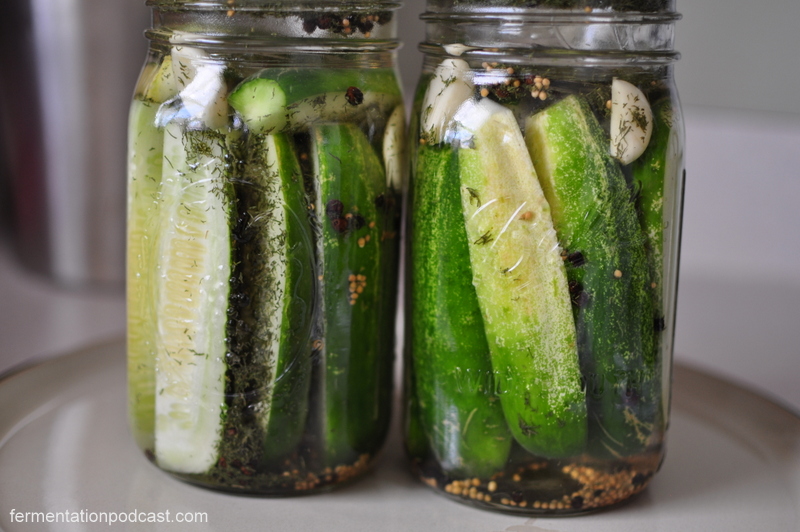
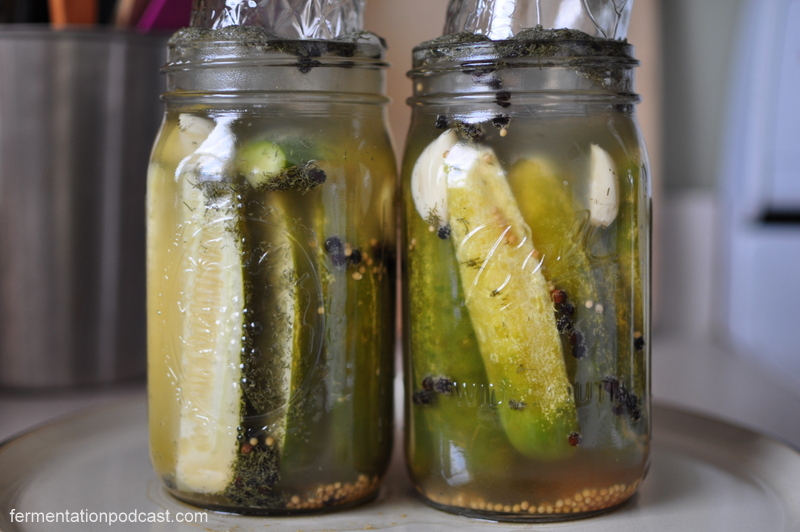
Here’s how they looked after they were done being prepped:
This is day 1:
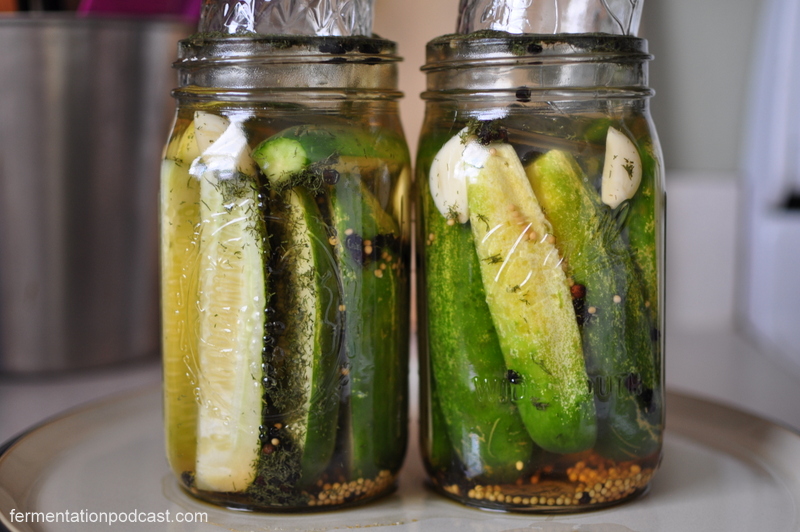
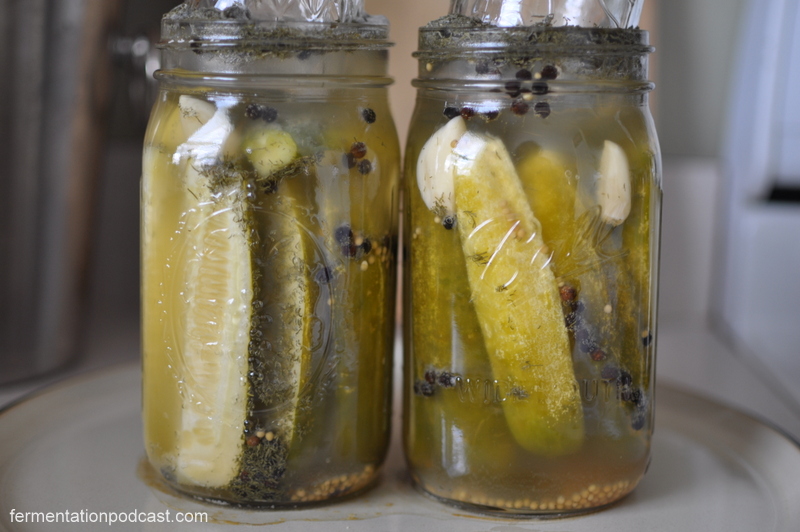
This is day 2:
This is day 3 (which is how many days I like at 72 degrees F with the amount of salt I used):
Once fermentation is to your liking, put in the fridge or a cool root cellar where it should keep for quite a while (I have some from more than a year old).
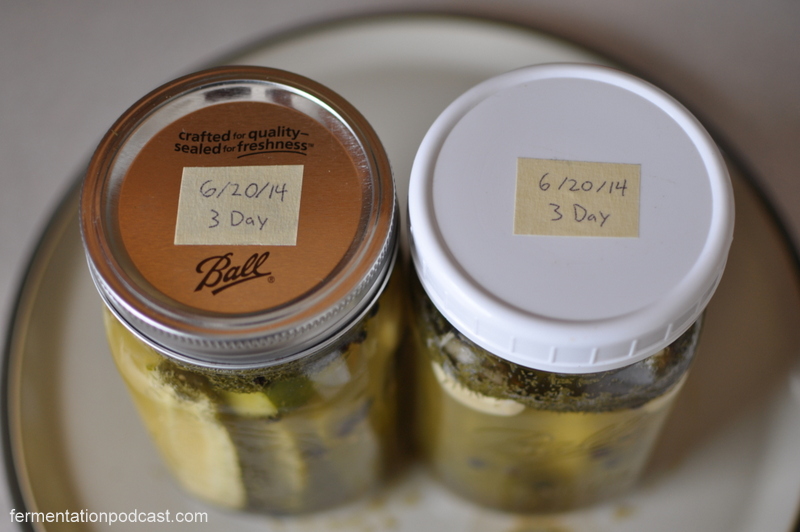
Don’t forget to label your pickles with the date or you’ll never remember when you put them in the fridge!
Yum!
Extra Notes and Observations
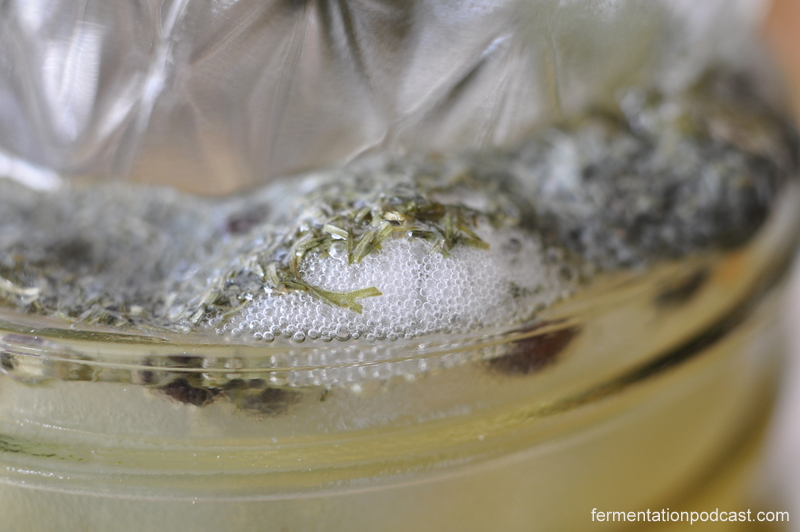
On a few extra notes below, you can see that they start to change to a slightly yellowish color and start getting cloudy which is completely normal. You’ll also see bubbles coming up from the pickles and bubbling away on the top like you see in this picture below on Day 2:
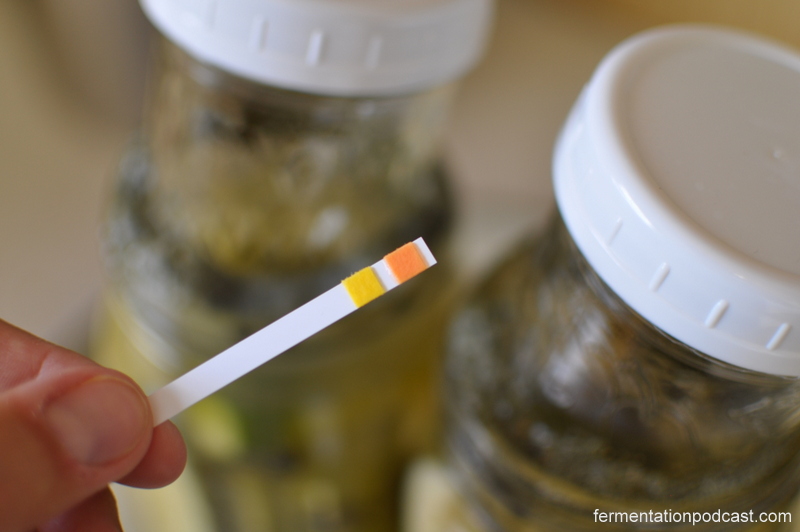
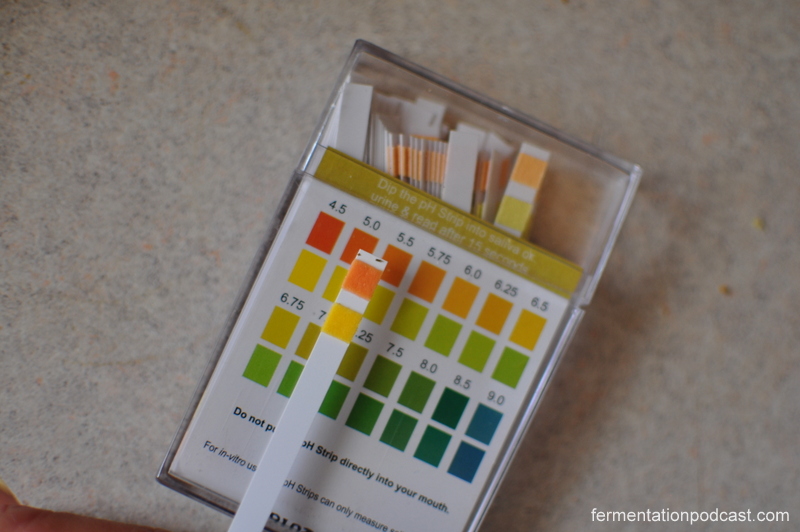
If you want to be a science nerd and do some pH testing, you can try some simple pH strips to start off and see what the pH is when you start which should be about neutral or almost 7.0. As soon as I got done I checked the pH and it looks like it’s somewhere in the 5 range. Unless the top one wasn’t working (orange), the bottom one almost looks more in the 4.5-ish range:
I hope you enjoyed this post on making homemade dill pickles through a salt brine from lacto-fermentation! They’re very delicious! Let me know what you think in the comments section below or if you have any great ideas, as always, let me know about it!


5 comments
1 pings
Skip to comment form
I have been inspired by your podcast. I recently received a half gallon fermenting jar with airlock on the lid. I started my first ferment 3 days ago. Pickled cucumbers. Just started to get cloudy. I was told by a friend to use 3 tablespoons of sea salt per 4 cups of water and ferment 7-14 days.I will be trying 7 on this first batch. Thanks for your podcast!
Author
Thanks MLW! Glad you enjoy the podcast. It sounds like the salt ratio is about the same as mine so it should turn out similar. Depending where you are in the country, make sure to taste it every day to make sure you don’t let it go too long. For me, in Florida, 3 days is perfect and any more than that for me the cucumbers get soft.
If you’re in a colder climate, then the more days might be better for you. Anyways, I’m sure you’ll agree that the flavor is there. Good luck!
Thanks Paul. I’m up in northwest IL and my home temp is about 70F. I have been taking a photo a day and noticed the brine level increased about 1/2″ in the jar.. Is this normal? It also looks like the ends of the cucumbers that were pressed to the glass have pushed in with a little white around them. Could this be from something on the cucumber before starting the ferment?
Thanks for your help!
MLW
Author
Yep! That’s perfectly normal. In fact, what happens is that the liquid is being pulled out of the cucumbers and then since you have a weight on top usually the weight will actually sink a little bit causing more of the liquid to rise up. The problem with that I’ve found is that if you have the brine level pretty high in your jar to begin with, it will overflow causing a mess everywhere so I put my jars on plates if I’m doing it the mason jar way to catch the overflow.
Don’t worry about what the ends of the cucumbers look like. Sometimes they shrivel where you cut them at the ends but as long as they’re under the brine, they’re good. You’ll see the jar getting cloudy and even sediment start to settle on the bottom which is fine. Don’t forget to taste them! I’m actually about to start a big jar in the next day since I’ve been running out of them!
Thanks again for your expertise! Looking forward to the next podcast.
[…] Homemade Dill Pickle Recipe – The Fermentation Podcast […]