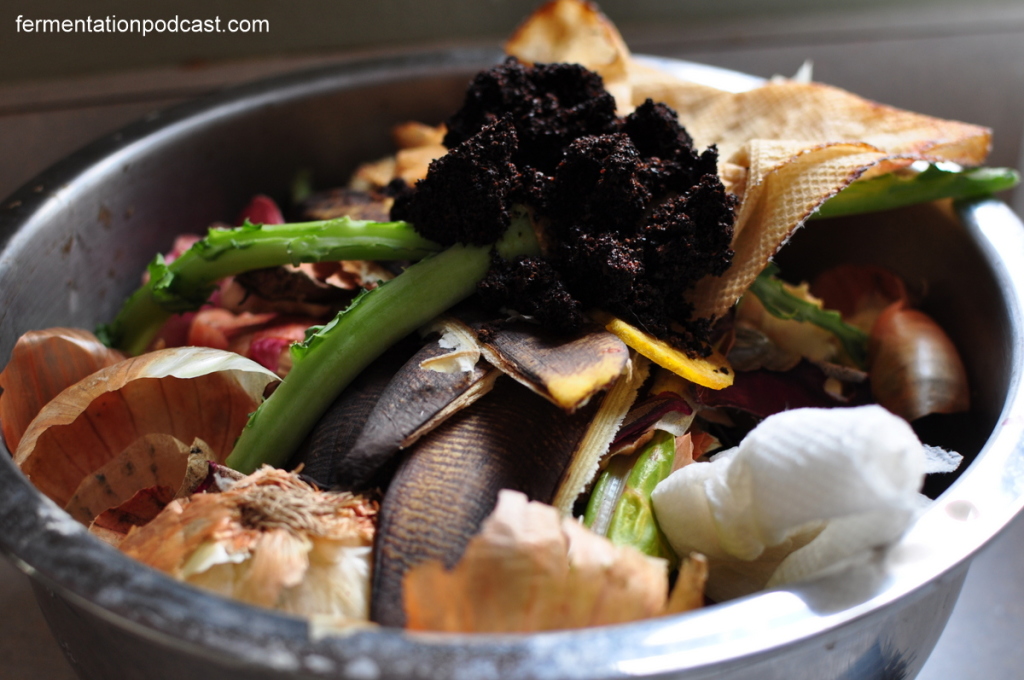
What do you do with your food scraps from your kitchen? Do you compost them, harnessing the power of fermentation, or do you let those nutrients slip away from your home nutrient cycle and it’s out with the garbage, losing them forever?
If you want to build rich, black, amazingly fluffy soil that you can then spread on the garden, then you need a compost bin!
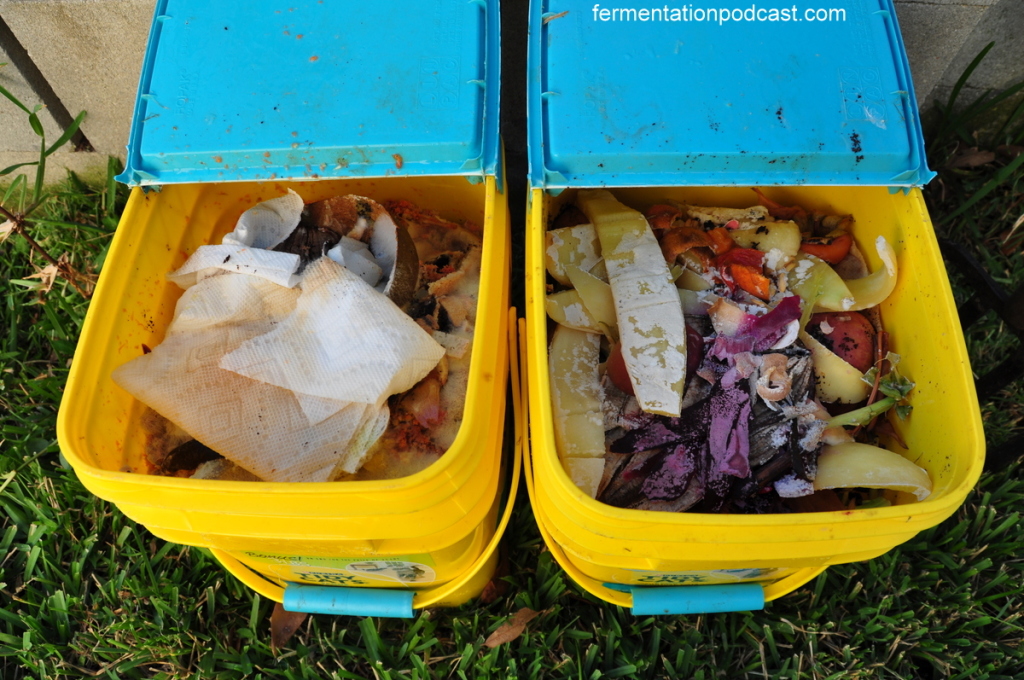
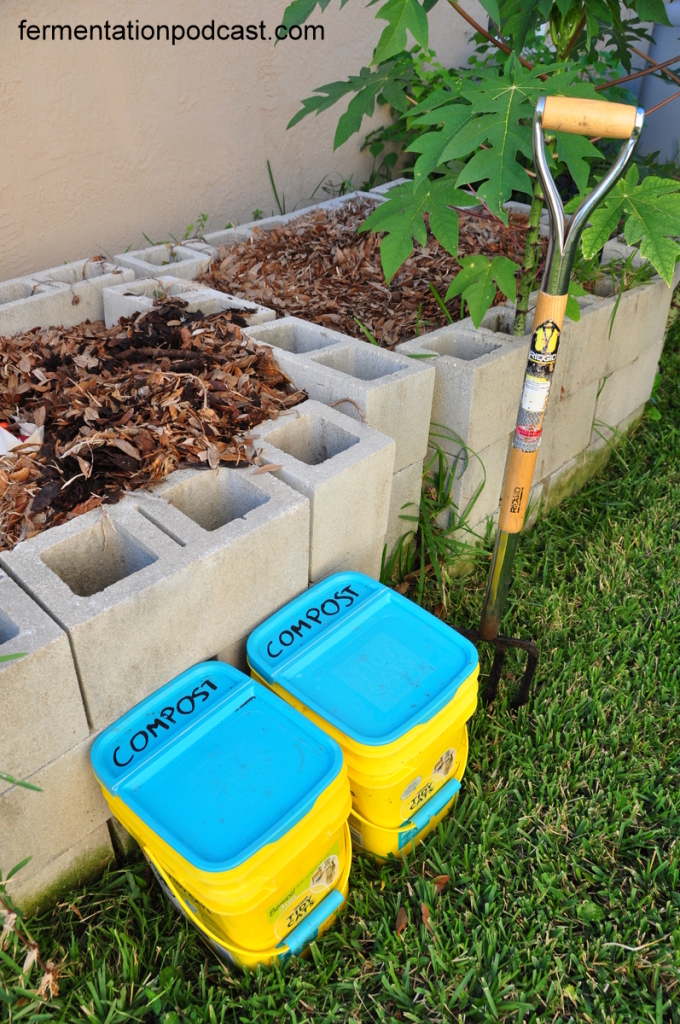
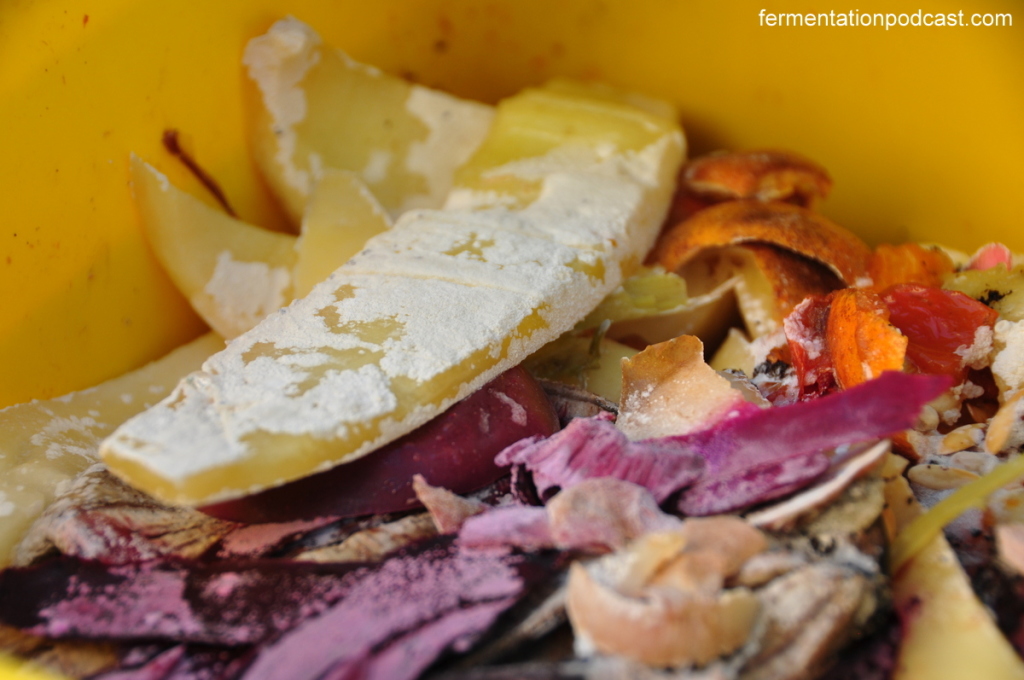
For compost pails to hold food scraps in between dumping into the bins, I thoroughly cleaned out kitty litter pails.
Home composting is a responsible way to manage nutrients and put them back into the earth, growing something new for you to eat. This is a one guiding principle in permaculture, closing the nutrient cycle. Whether you’re on a homestead with large acreage or even in a tiny apartment, you can have a compost bin.
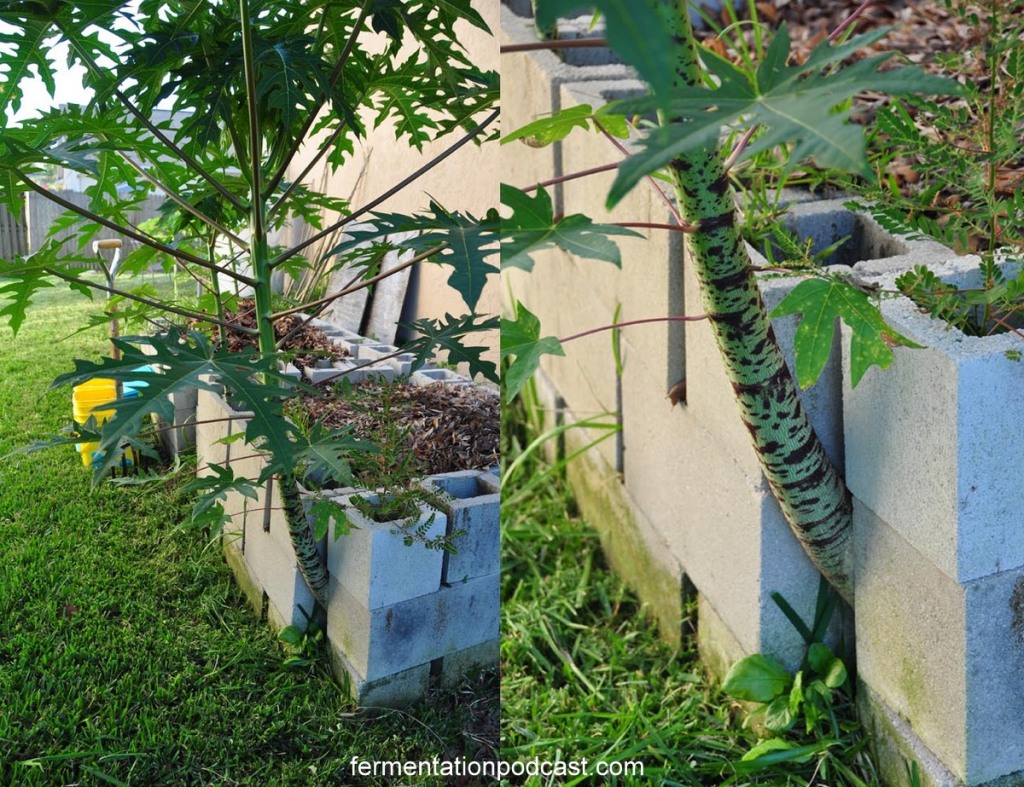
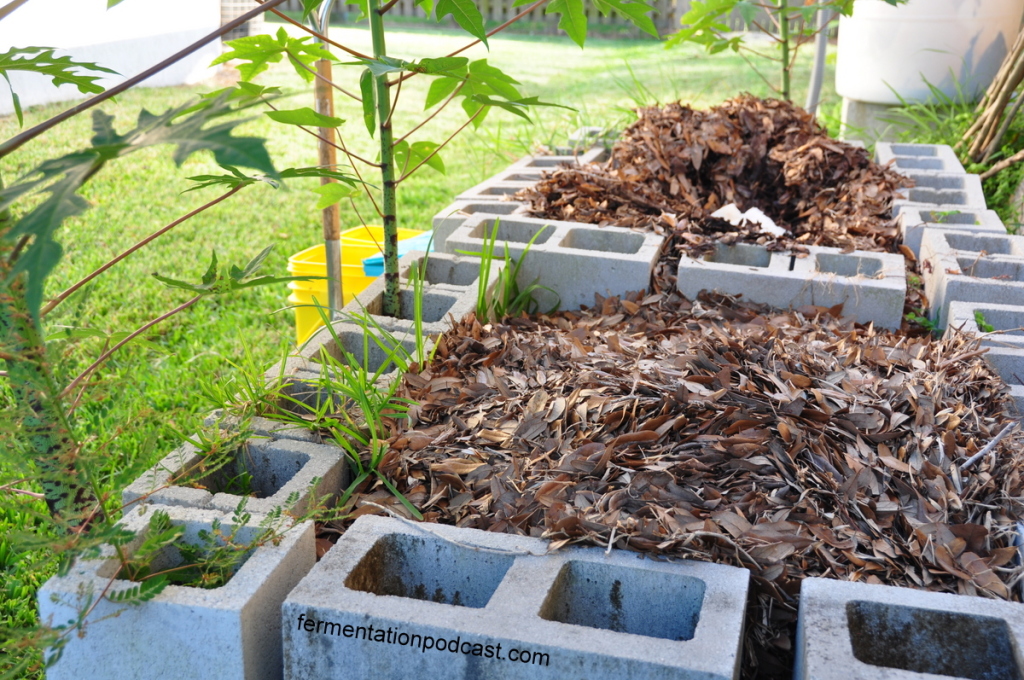
From the picture above, I’ve had papaya trees sprout right through a crack in my compost bin and I just let them go to see what they would do. They were not planted, have never been watered in all the months they’ve grown, and they’re twice as thick as papaya trees that I transplanted 1 year ago!
Through the wonder of fermentation, tiny bacteria, yeasts, and molds break down carbon materials (browns) that are mixed with nitrogen materials (greens). Also helping break down these larger nutrients above the microscopic world are quite a few insects and other life like worms and earwigs join the party creating one giant pile of activity.
On the micro side, it’s estimated that in 1 teaspoon of finished compost, there’s about 1 billion microorganisms.
That number is mind boggling, but it makes sense because when you start a large compost pile and turn it often the temperature begins to skyrocket and this temperature is maintained above 130 degrees F up to less than 150 degrees F when turned regularly. If you put your arm in a compost pile that hot, you wouldn’t be able to keep your hand in there very long.
I’ll go over two main methods for creating and maintaining a compost pile:
- Cold composting method – this can take between 6-12 months and is a set it and forget it type of method
- Host composting or Berkeley 18 day “fast” composting method – this method is quick, doesn’t lose much volume and lets you build soil quickly, but it takes more effort
Cold Composting Method
This is the method that I currently use because I don’t have a large need for a lot of compost regularly. When I get a bit more land and have a larger-scale garden then I’ll have to switch to the next method.
I built my two-bin compost system with cinder blocks stacked about 3 high which give me an inner chamber of about 4 feet long by 3 feed wide by 3 feet deep. This isn’t exactly perfect but it has worked for me for a few years now and has given me a good amount of rich, dark compost that I feed back to the garden in the spring and fall and also use for pots.
The method is as follow:
- Begin filling the chambers with leaves, mulch, or other brown leafy materials
- Green materials include kitchen food scraps, leaves that are still green and maybe shredded, lawn clippings, and some high nitrogen materials could include chicken manure, cow manure or comfrey
- You want a ratio of browns to greens of about 25-30:1 but it doesn’t have to be perfect. Just pile leaves in and every time you have extra greens, pull the top of the pile back, mix them in, and cover it back up
- You can turn the pile regularly with a pitch fork, but if you don’t, the pile should break down in 6-12 months
- Be sure to keep the pile slightly moist, but if you live in a wet climate like I do (Florida), I just leave it uncovered and the rain waters it
With this method you’ll notice that the pile will shrink down regularly meaning that it was too hot at times possibly going anaerobic inside, and you’ll end up with less finished compost in the end, but you’ll also be putting out less effort.
Cold Composting = Slower = Less Effort = Less Finished Compost
Hot Composting or the Berkeley 18 Day “Fast” Composting Method
This method creates a large amount of compost
The method is as follow:
- Create a pile that’s roughly 1 1/2 meters high which means it will probably be about the same width and layer with greens & browns like a lasagna along with watering the layers slightly
- Brown materials include leaves, mulch, or other dried leafy materials
- Green materials include kitchen food scraps, leaves that are still green and maybe shredded, lawn clippings, and some high nitrogen materials could include chicken manure, cow manure or comfrey
- You want a ratio of browns to greens of about 25-30:1 but it doesn’t have to be perfect. Make sure to layer your browns and greens
- Leave the pile for 4 days, then turn every 2 days after for a total of 18 days
- When turning the pile, “peel” the outer layers off, putting those into the center of the newly formed pile every time it’s turned
- Be sure to keep the pile slightly moist, but if you live in a wet climate like I do (Florida), I just leave it uncovered and the rain waters it
- If it’s too moist, cover with a tarp
With this method you’ll notice that the pile will remain roughly the same size, and you’ll end up with almost the same amount of finished compost that you started with in material at the end, but you’ll also be putting out more effort with the turning of the pile constantly.
Hot Composting = Faster = Constant Effort = More Finished Compost
Composting in a Small Apartment or Renting
You can and you should!
If you live in a small place that doesn’t have a yard, or you’re renting and can’t set up compost bins, then you will want to make a “vermi-composter”, worm bin, or in other words, a composter that uses worms like red wigglers to break down your food scraps yielding two highly prized commodities:
- Worm juice – this can be mixed with a large volume of water of maybe 10:1 water to worm juice which is then used as a liquid plant fertilizer
- Worm castings – basically, this is worm poop that’s highly valued as an amazing soil amendment that can be mixed right into garden soil
Building Soil on a Large Scale
If you live on a large piece of property, have several acres, and want to build soil on a larger scale, then there is a different method to accomplish this en masse. To build soil by the acre instead of by the pile, compost piles won’t do it for you.
You have to partner with nature and this is where permaculture comes in.
I could make a whole article on this but to simplify, you need to do a cover crop of grasses that you can then chop and drop.
Whenever possible, try including nitrogen-fixing cover crops like alfalfa, clover, or leguminous types like winter peas and then for lots of biomass cover crop with grasses like rye, vetch, or winter wheat.
Combinations of these are great when you take into account which time of year these grow and when succession planting, you would just chop and drop letting the net succession of cover crops take over like how Masanobu Fukuoka describes in his “One Straw Revolution”.
In any case, building soil on the large scale REQUIRES cover crops and succession plantings.
Composting and Fermentation
Composting is just another way to think about fermentation.
It is nature’s basic way of breaking down substances that use to be alive and rearranging them in a way that will make them useful to the next succession of organisms essentially making what was once living, live again.
When we’re creating our delicious concoctions of ginger ale or pickles or sourdough bread or any other number of good ferments, it’s interesting to think that the same processes at work on our fermented foods and drinks are the same processes that help create finished compost and give rise to the next generation of life.
When it comes to food & drinks, we’re just delaying and altering that process, but eventually, everything ends up back into the cycle of decomposing into the earth’s soil, mined up into the bodies of plants, flourishing into fruits that are then harvested, preserved, pickled, consumed, and on the process repeats.
It’s an honor and a joy when you realize that you can be the facilitator of that process, closing the loop of the nutrient cycle.
What do you think?

